Skip to content
site-logo

Thimble Bee's Sewing School

  • Home
  • Sewing Summer Camp
  • Learn To Sew
    • Learn To Sew I Kids
    • Learn to Sew Kids: Beyond the Basics
    • Learn To Sew I Adults
    • Learn To Sew II Adults
    • Virtual Classes
  • Kids Classes
    • Learn To Sew I
    • Learn to Sew Kids: Beyond the Basics
    • Fashion Kids (ages 9-12)
    • Fashion Tweens & Teens (ages 9-15)
    • Homeschool Sewing Classes
  • Adult Classes
    • Learn To Sew I Adults
    • Learn To Sew II Adults
    • Garment Fundamentals
  • Workshops
    • Kids Workshops
    • Adult Workshops
    • Teacher Workday & School Break Camp
  • Virtual Classes
    • Virtual Classes
  • The Thimble Bee’s Sewciety
Tutorials

Reversible Mini Infinity Scarf (Fits 18″ Dolls)

December 31, 2016November 16, 2023 Comments Off on Reversible Mini Infinity Scarf (Fits 18″ Dolls)
Reversible Mini Infinity Scarf (Fits 18″ Dolls)

 Reversible Mini-Infinity Scarf (for 18″ dolls)

These little beauties are so easy to whip up, and by using two fabrics the design options are truly endless!

Here’s what you will need for this project:

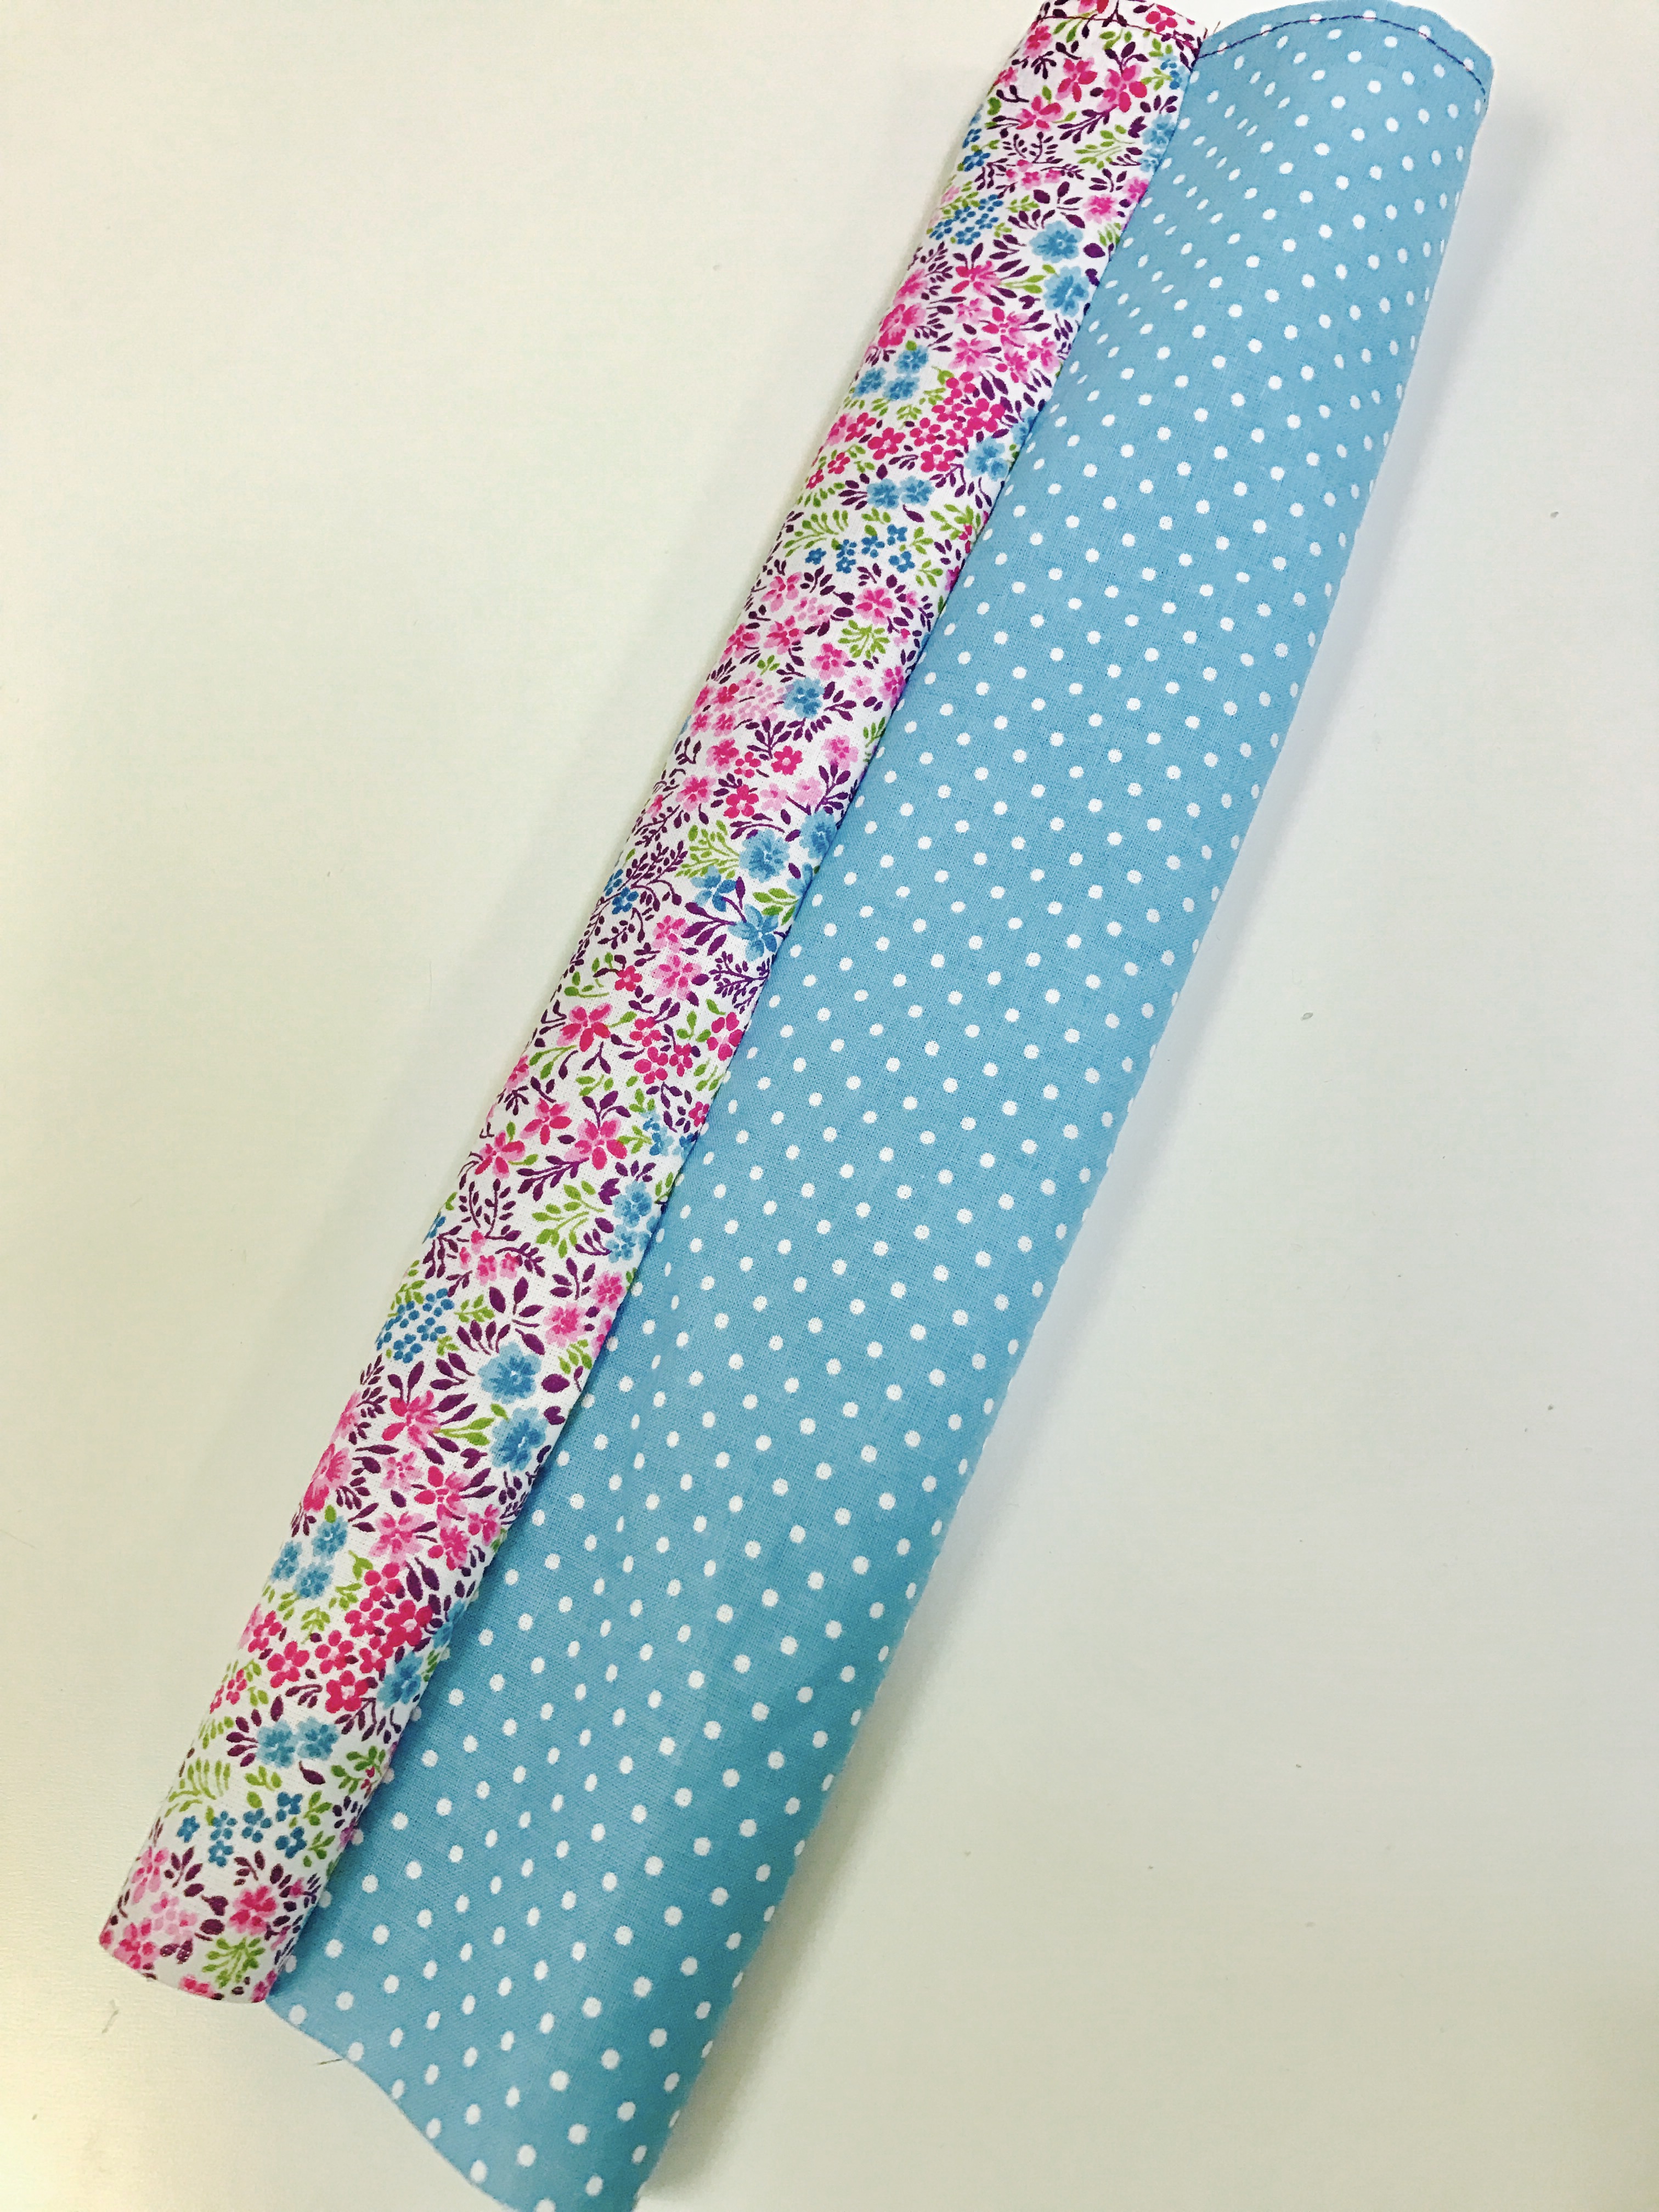
1/4 yard of two coordinating fabrics (lightweight cotton blends)

coordinating all purpose thread

(Note: In this tutorial, I used brightly colored thread so you can easily see my stitches, but you will want to choose a thread that blends with your fabrics.)

Safety Reminder: Make sure you’re using “Proper Hand Placement” while using your machine!  (ALWAYS keep your hands outside the gray box area!)

Pattern Prep: You will need two pieces (rectangles) that measure 5″ x 16″.  You can either measure and cut your fabric or use the Infinity Scarf pattern. It’s available as a free download. After you print it, cut out the paper pattern around the red line.

Step 1: Cutting

Fold your fabric in half.  You will notice on one end of the pattern it says, “place on fold”.  Using your straight pins, pin this edge of the pattern to the fold of the fabric.  Once the fold has been pinned, place another pin in each corner of the pattern, pinning through all layers.  This helps hold the fabric in place while you cut.

Once you’ve secured your pattern to the fabric, it’s time to cut.  Following the outside edge of the pattern, cut around the three sides but DO NOT CUT the fold-line.

After you finish cutting, un-pin your pattern from your fabric.  It should be in the shape of a rectangle and measure approximately 5″ x 16″.  Repeat this step to cut your second rectangle.

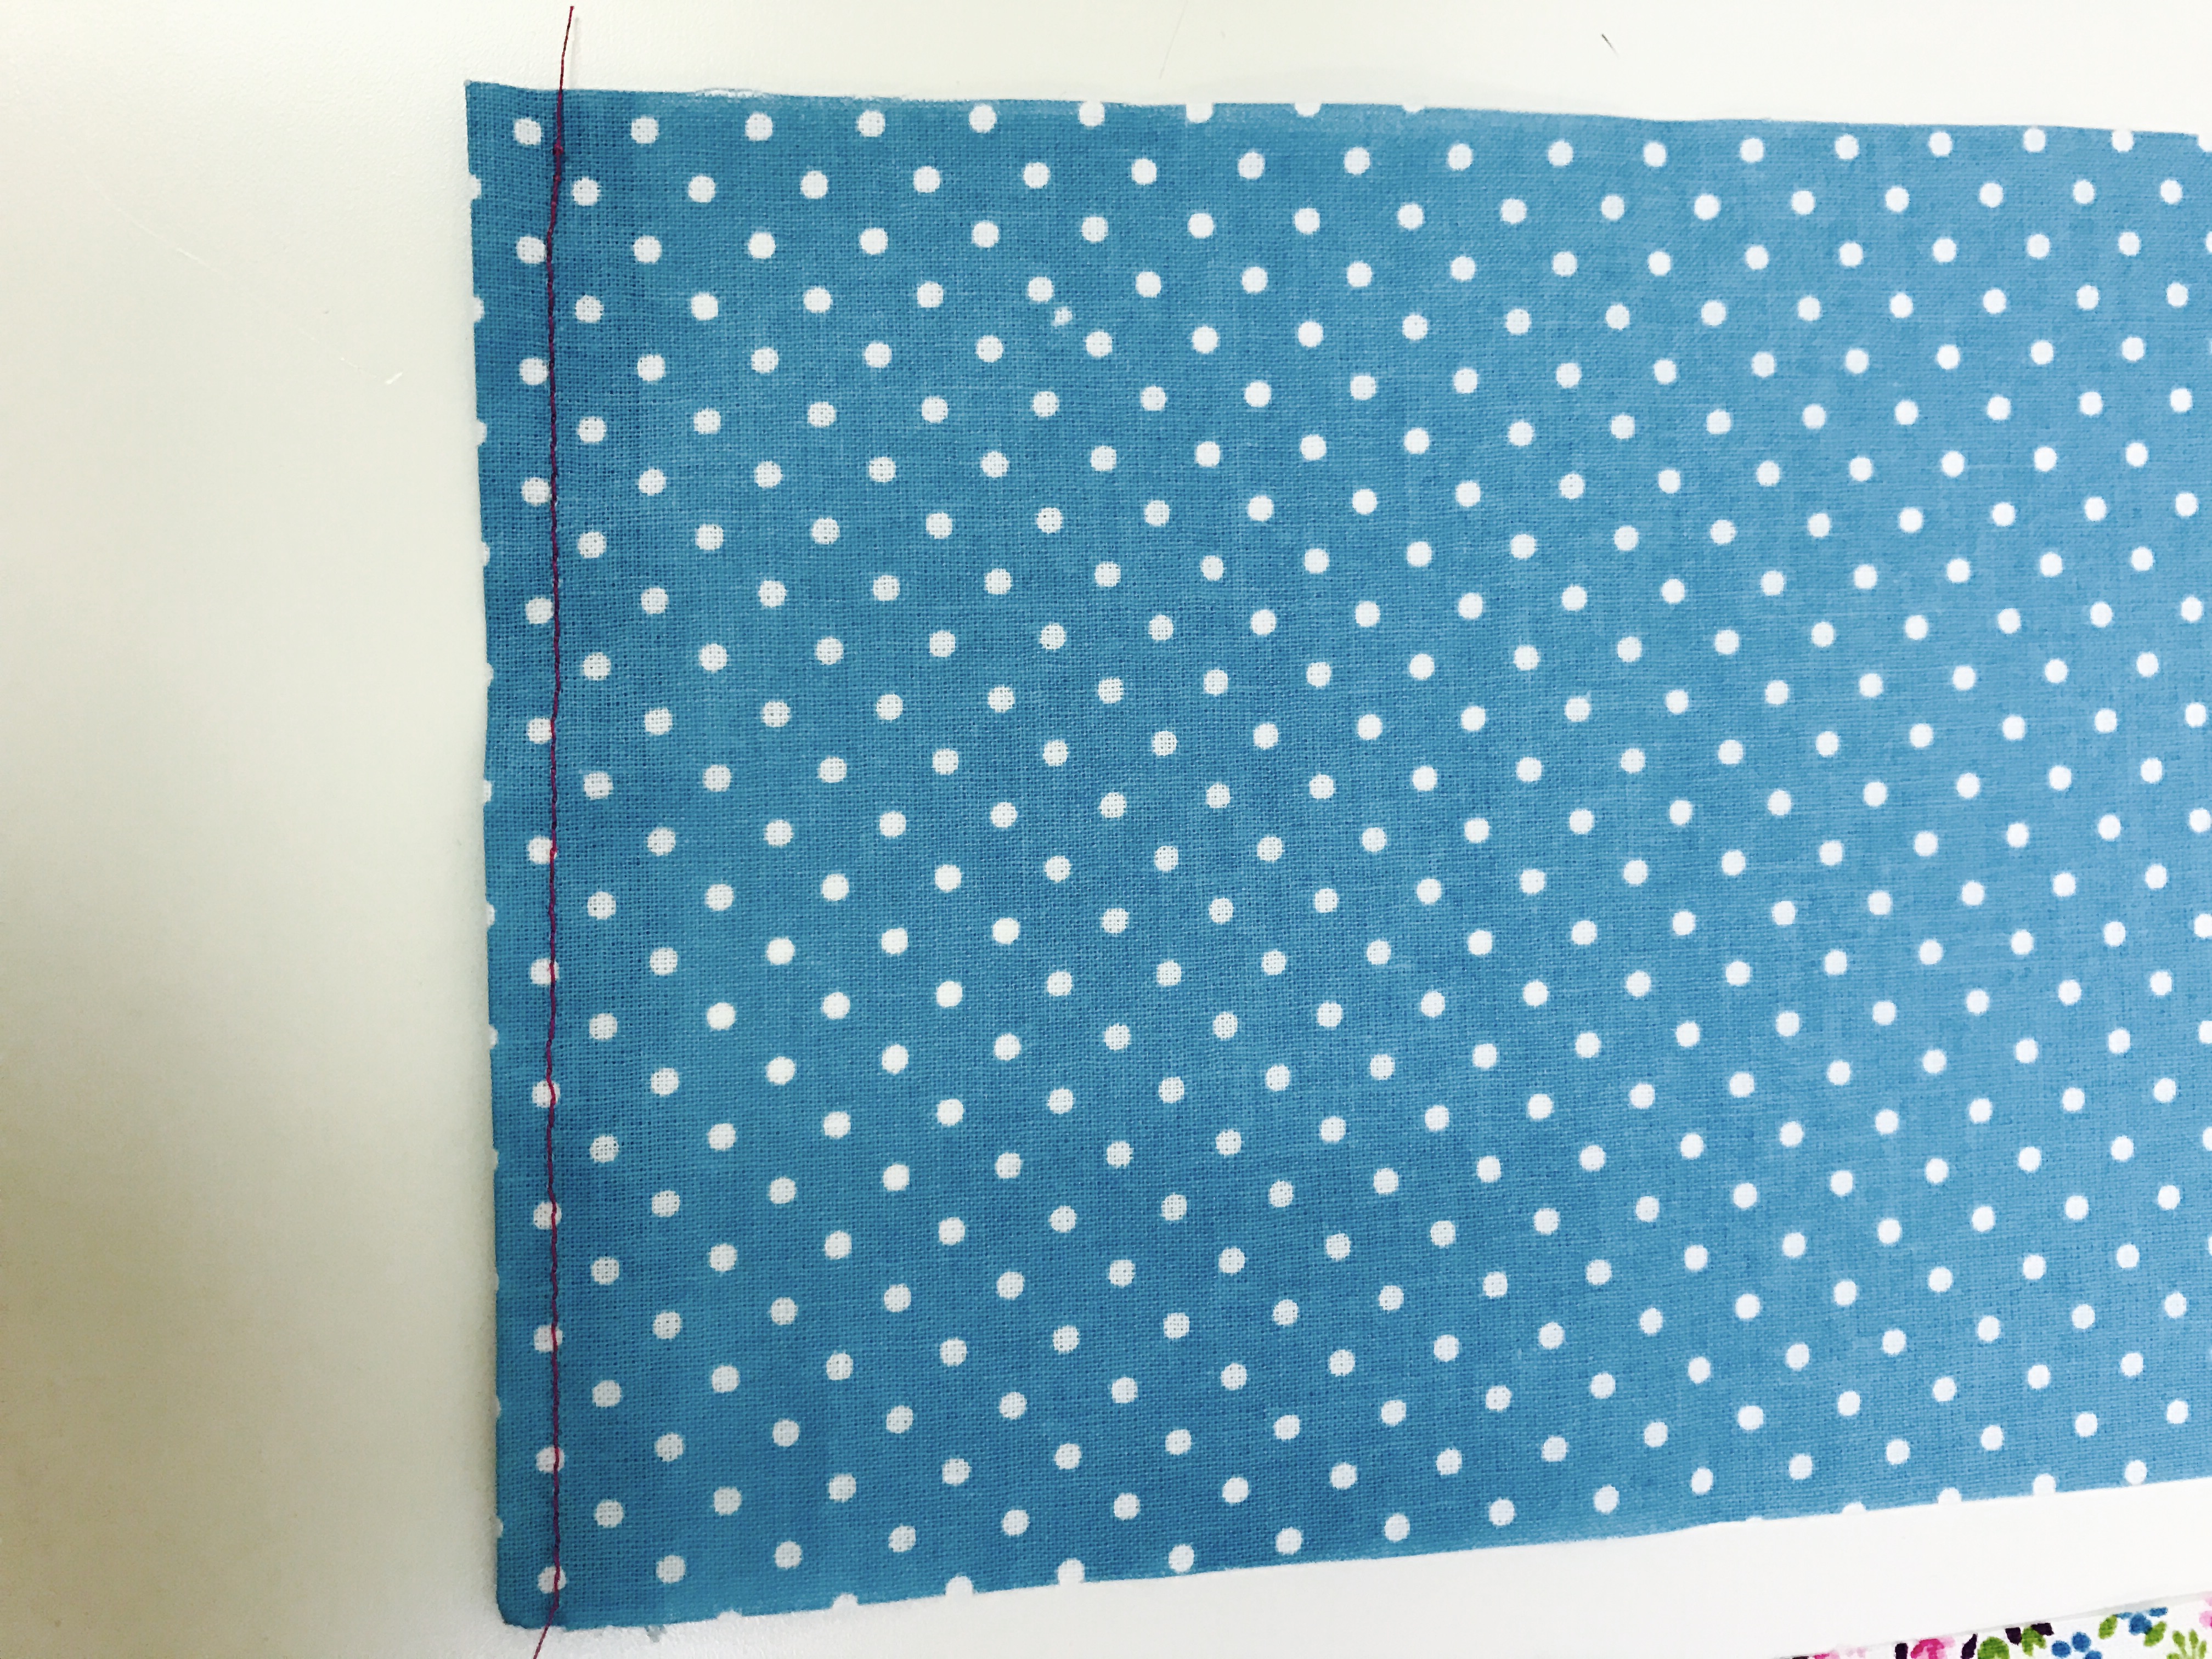
Step 2: Hemming the short end

Place your rectangles ugly side up.

Taking your seam gauge, fold up 1/2″ of fabric along one short end.  Pin in place.  Repeat this with the second rectangle.

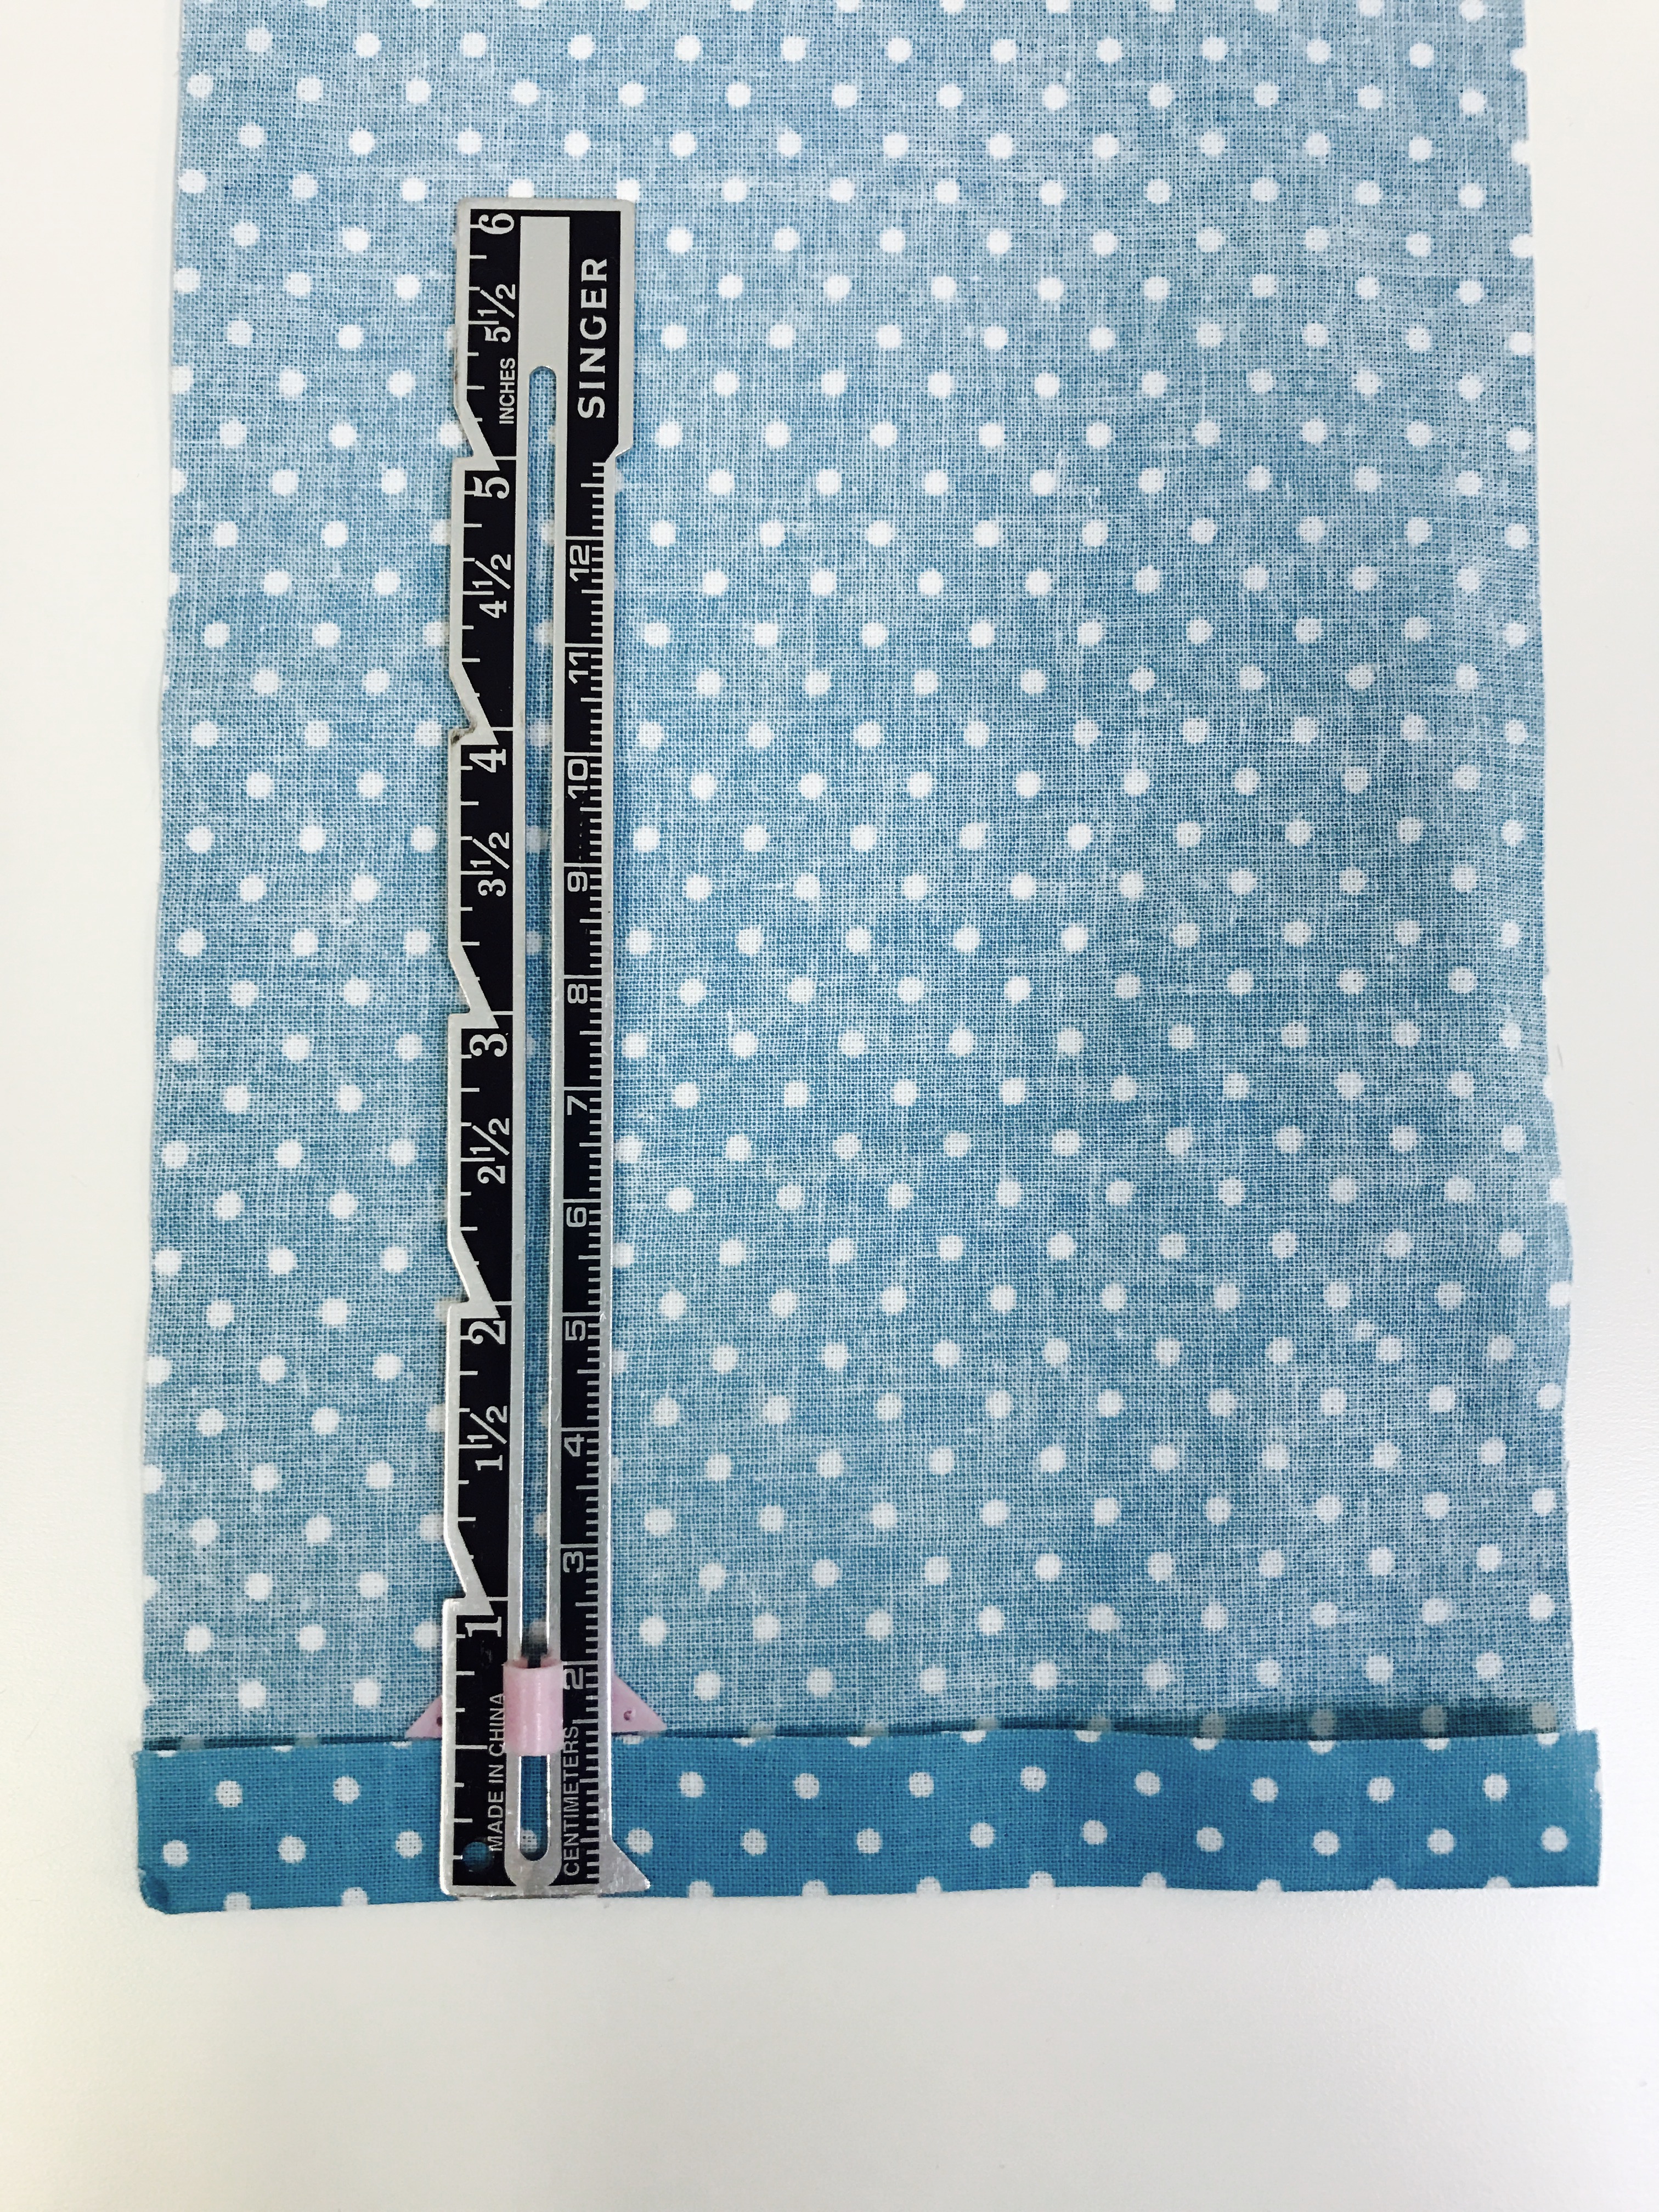
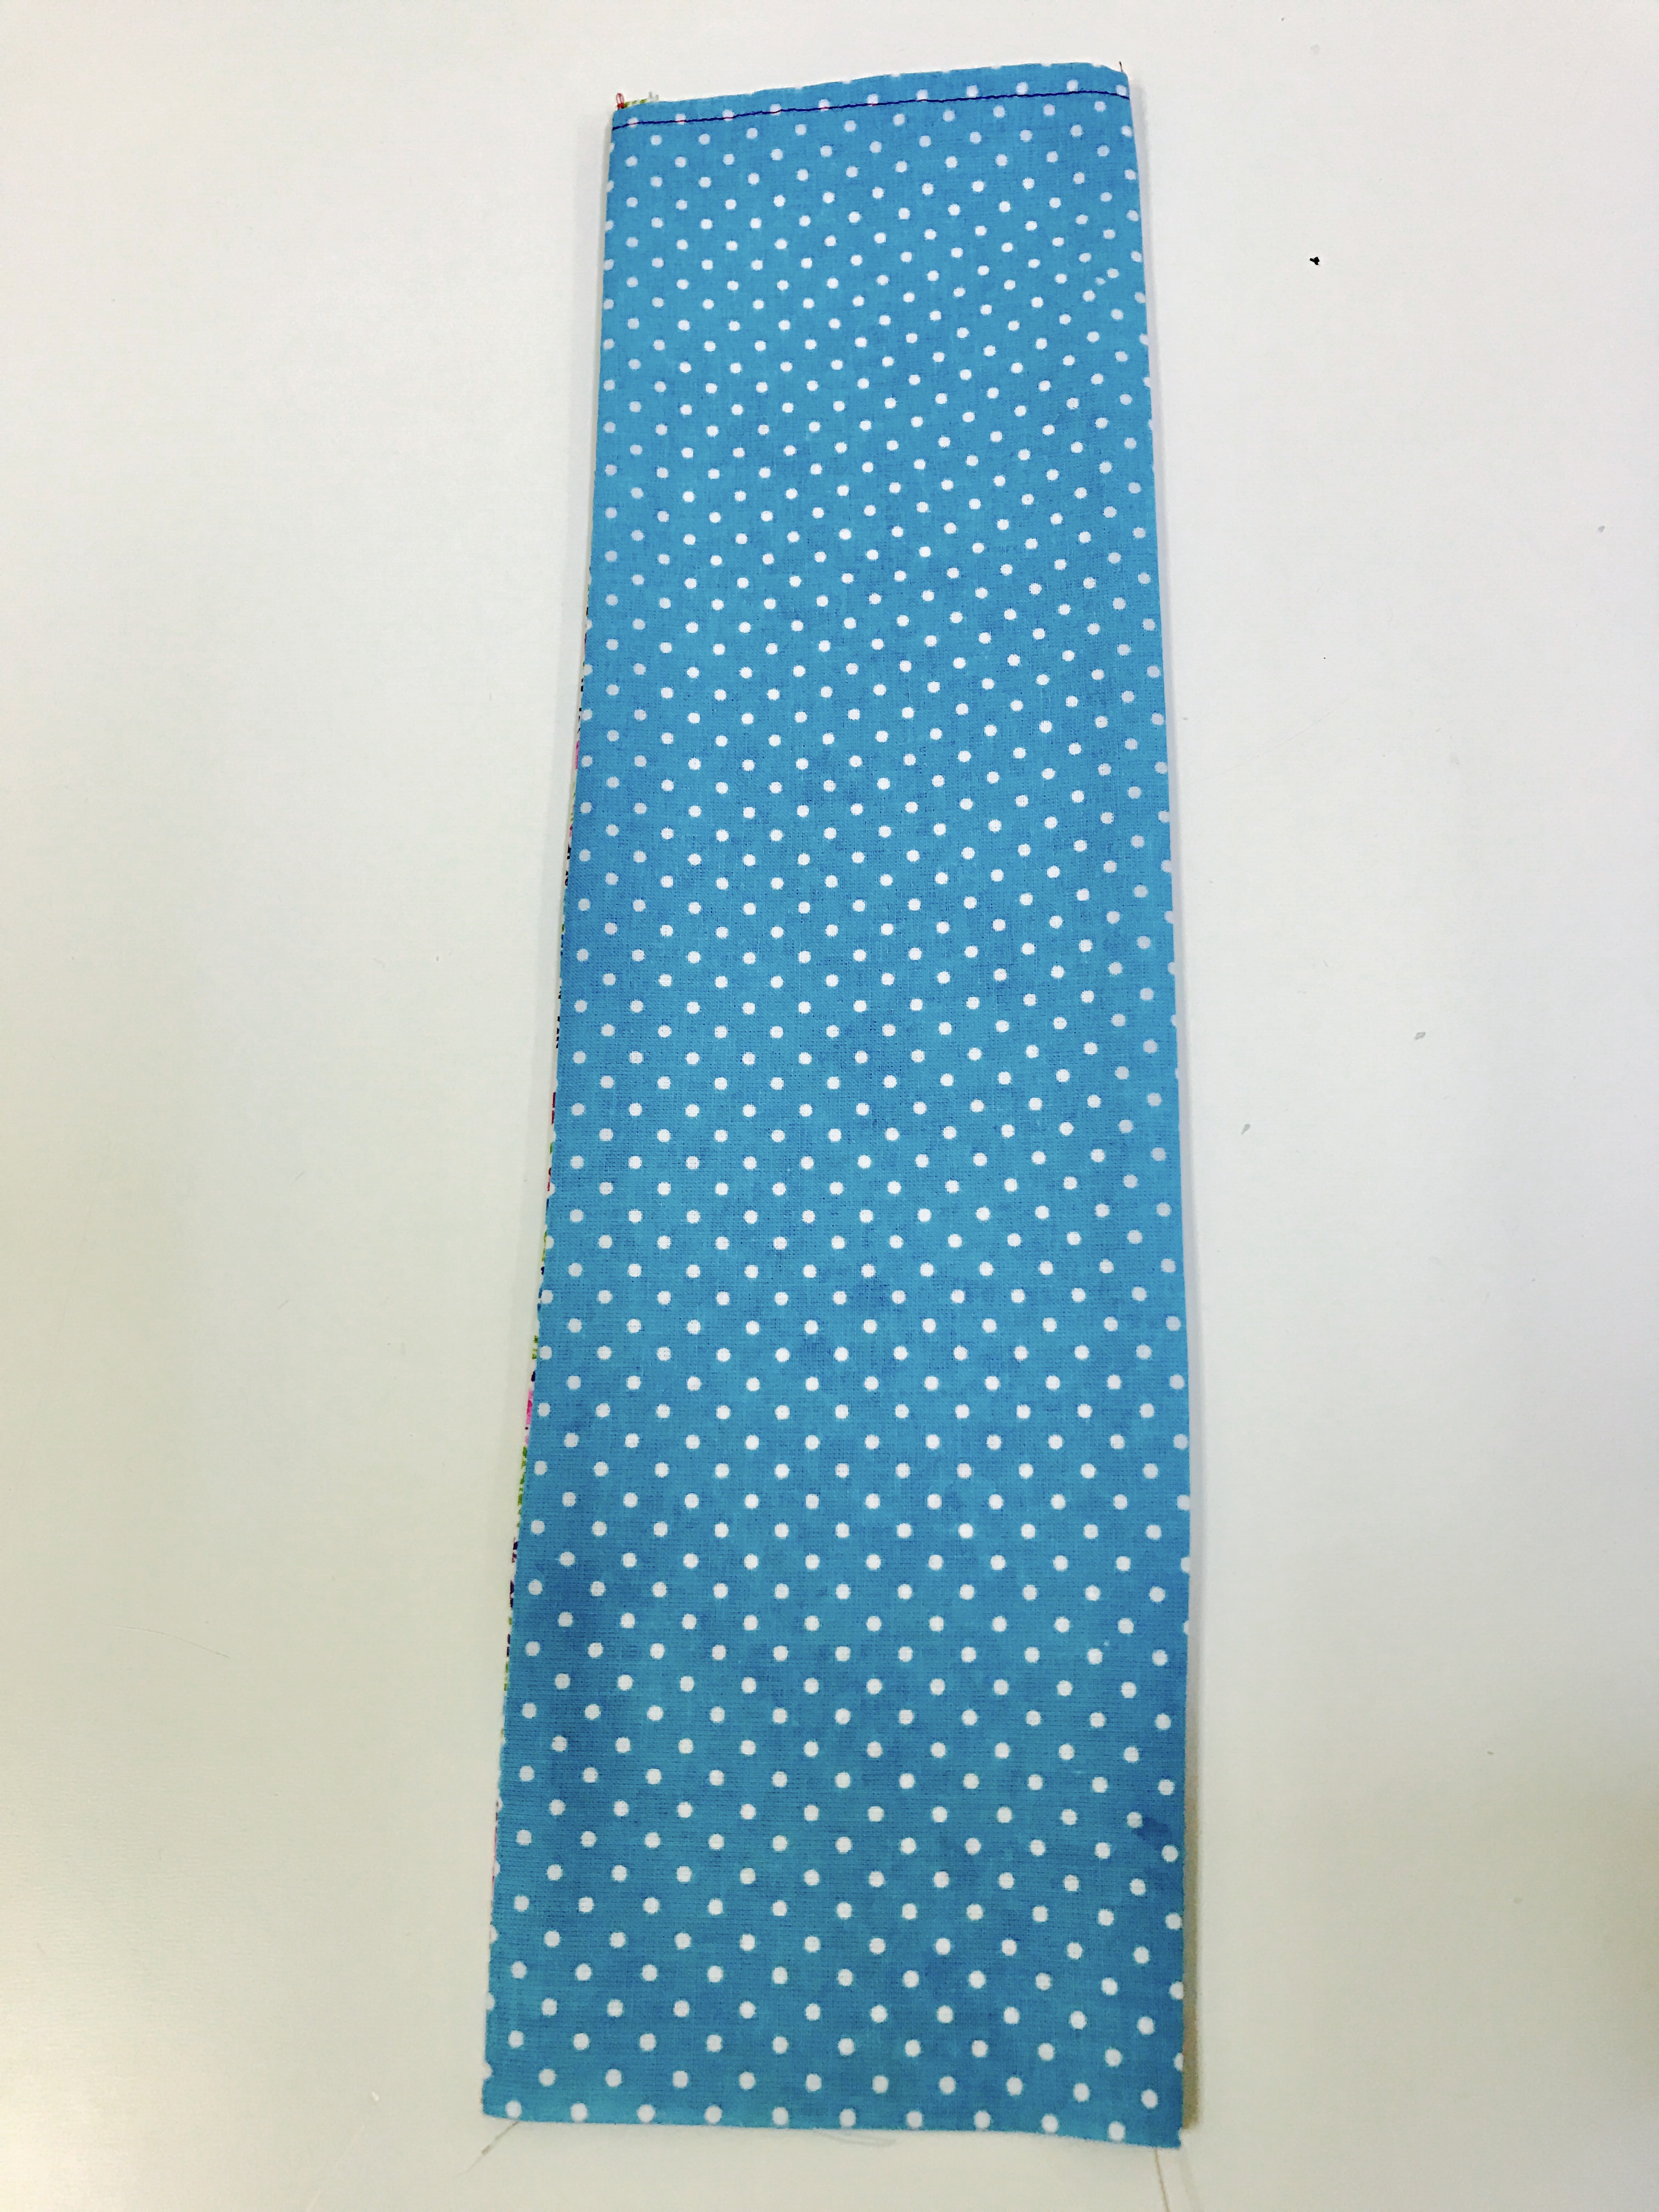
Your rectangles should now look like this:

Now, let’s take these to the sewing machine and stitch the “hems” in place.  Stitch from one end to the other, making sure you backtack at the beginning and end.

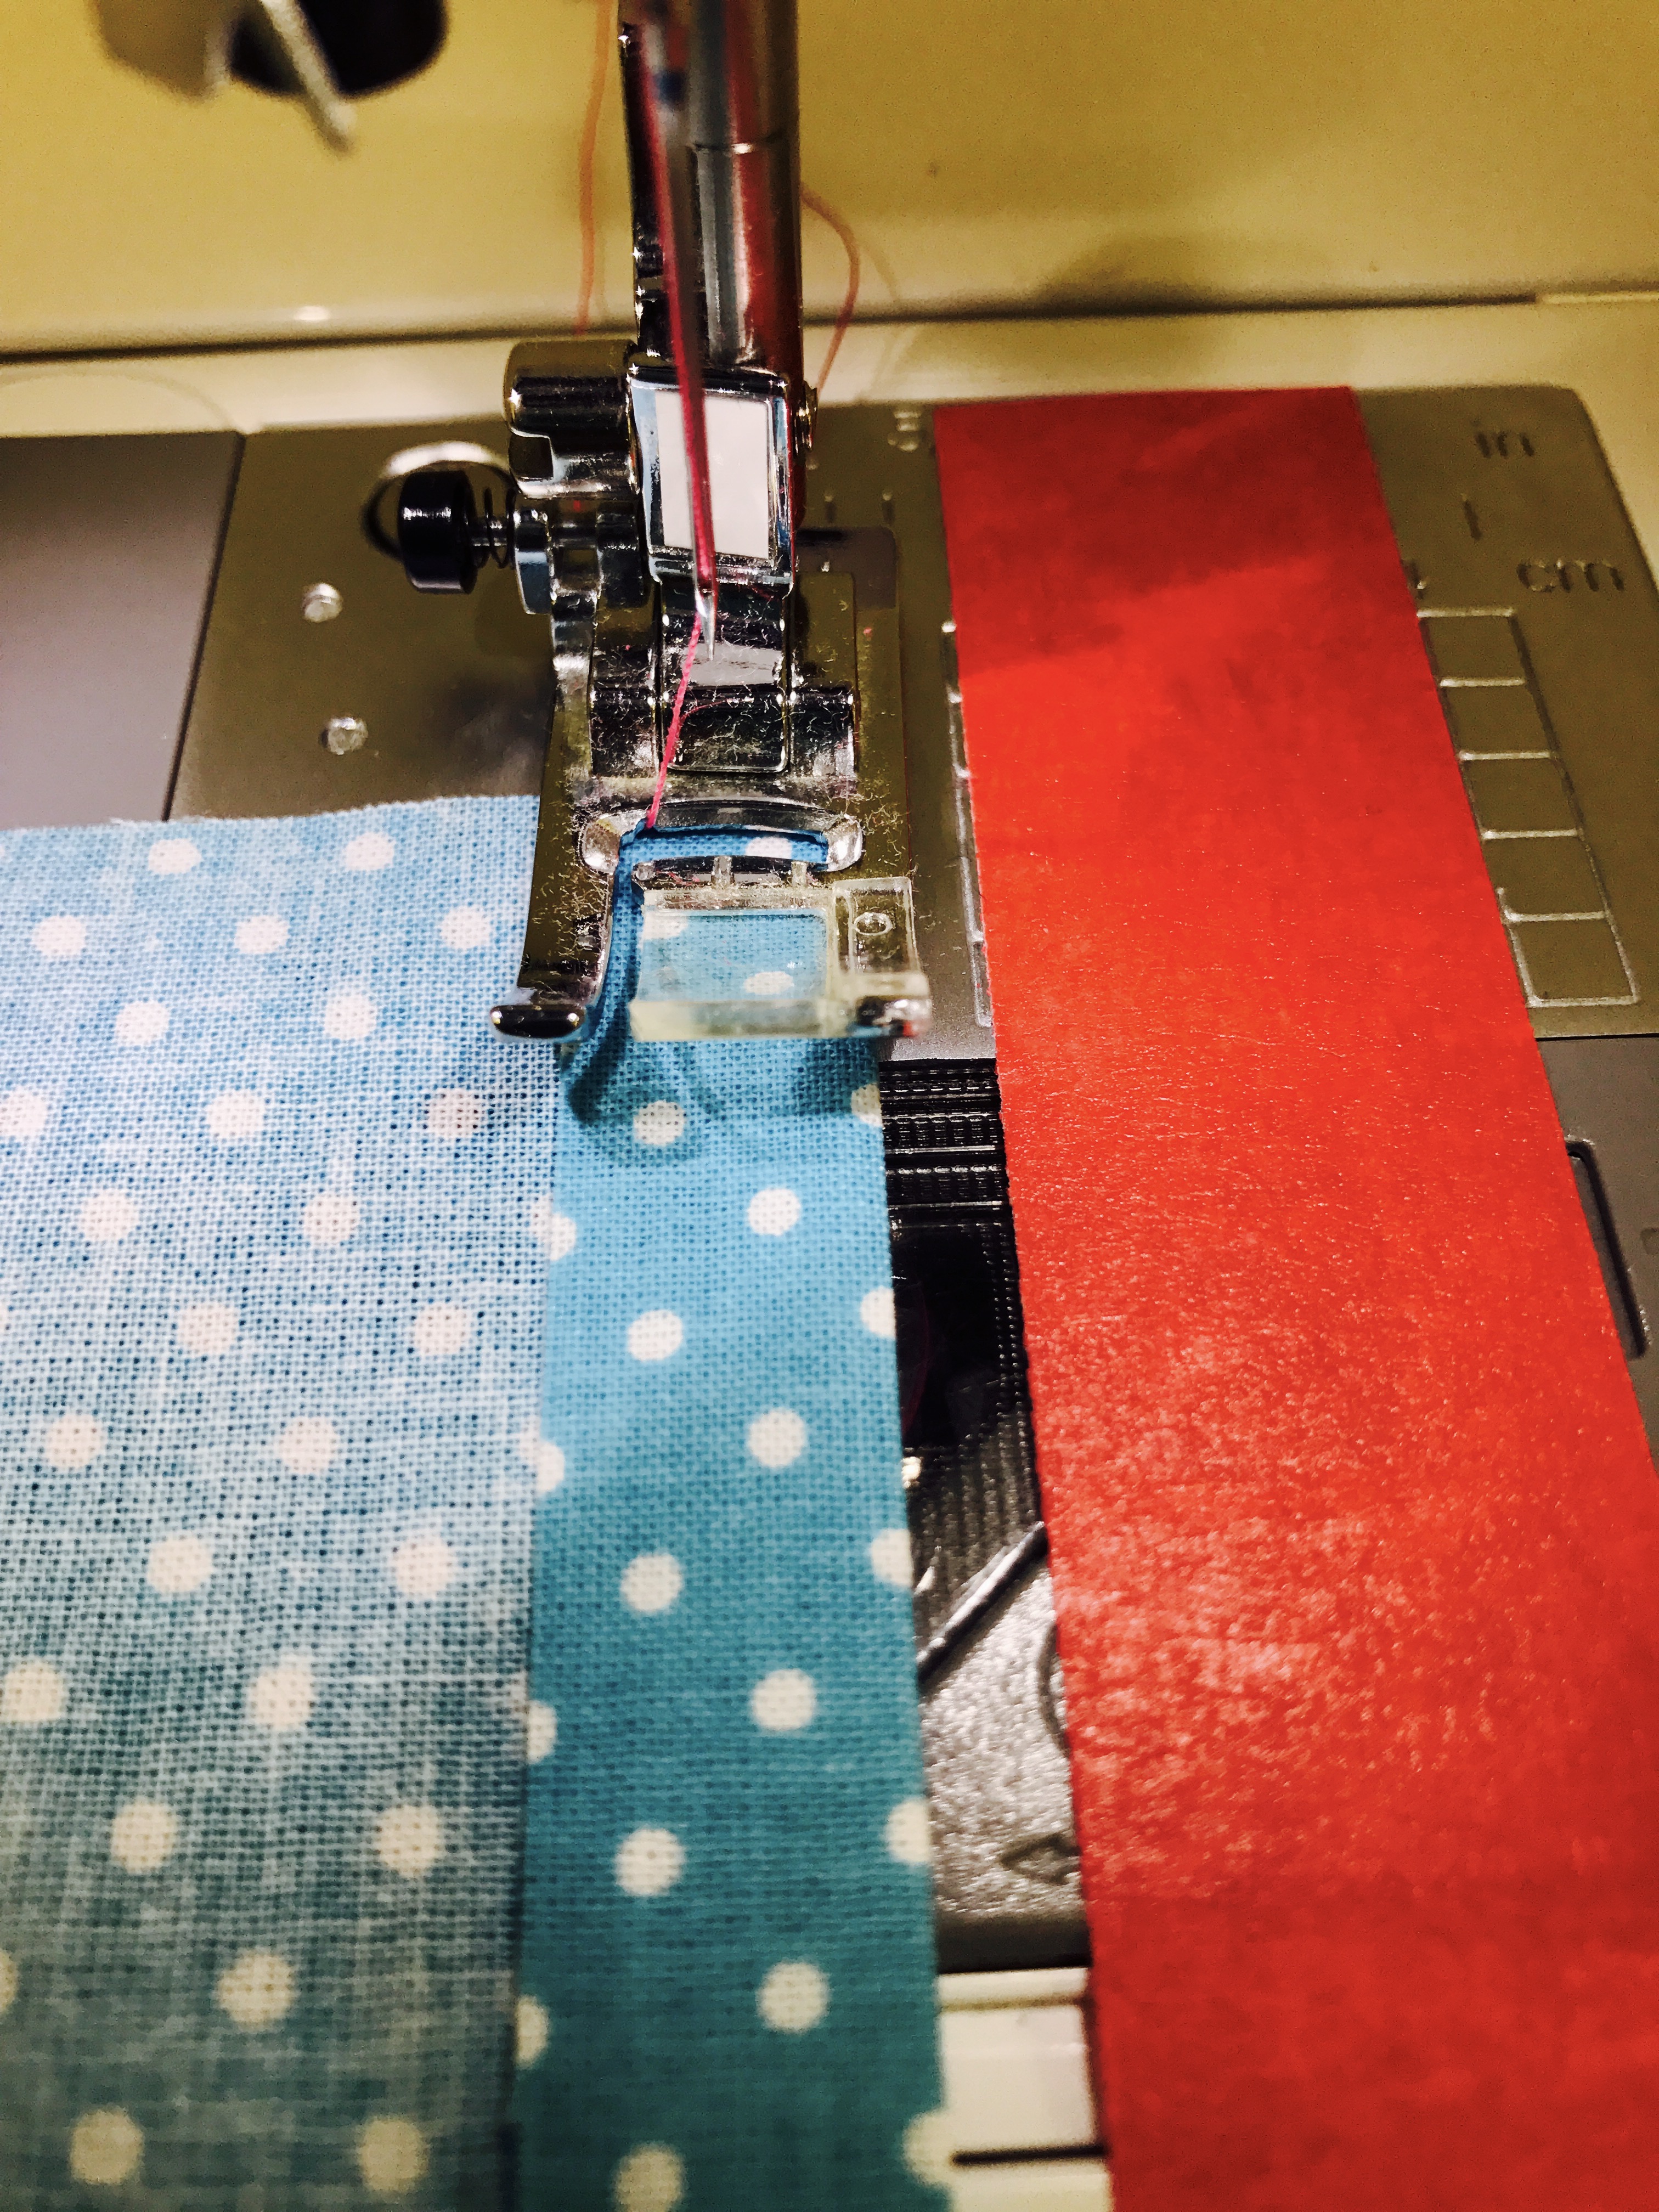
It should look like this:

Repeat this step with the second rectangle.  Just to be clear, only one short end of each rectangle needs to be hemmed.  The other short end will be left as a raw edge.

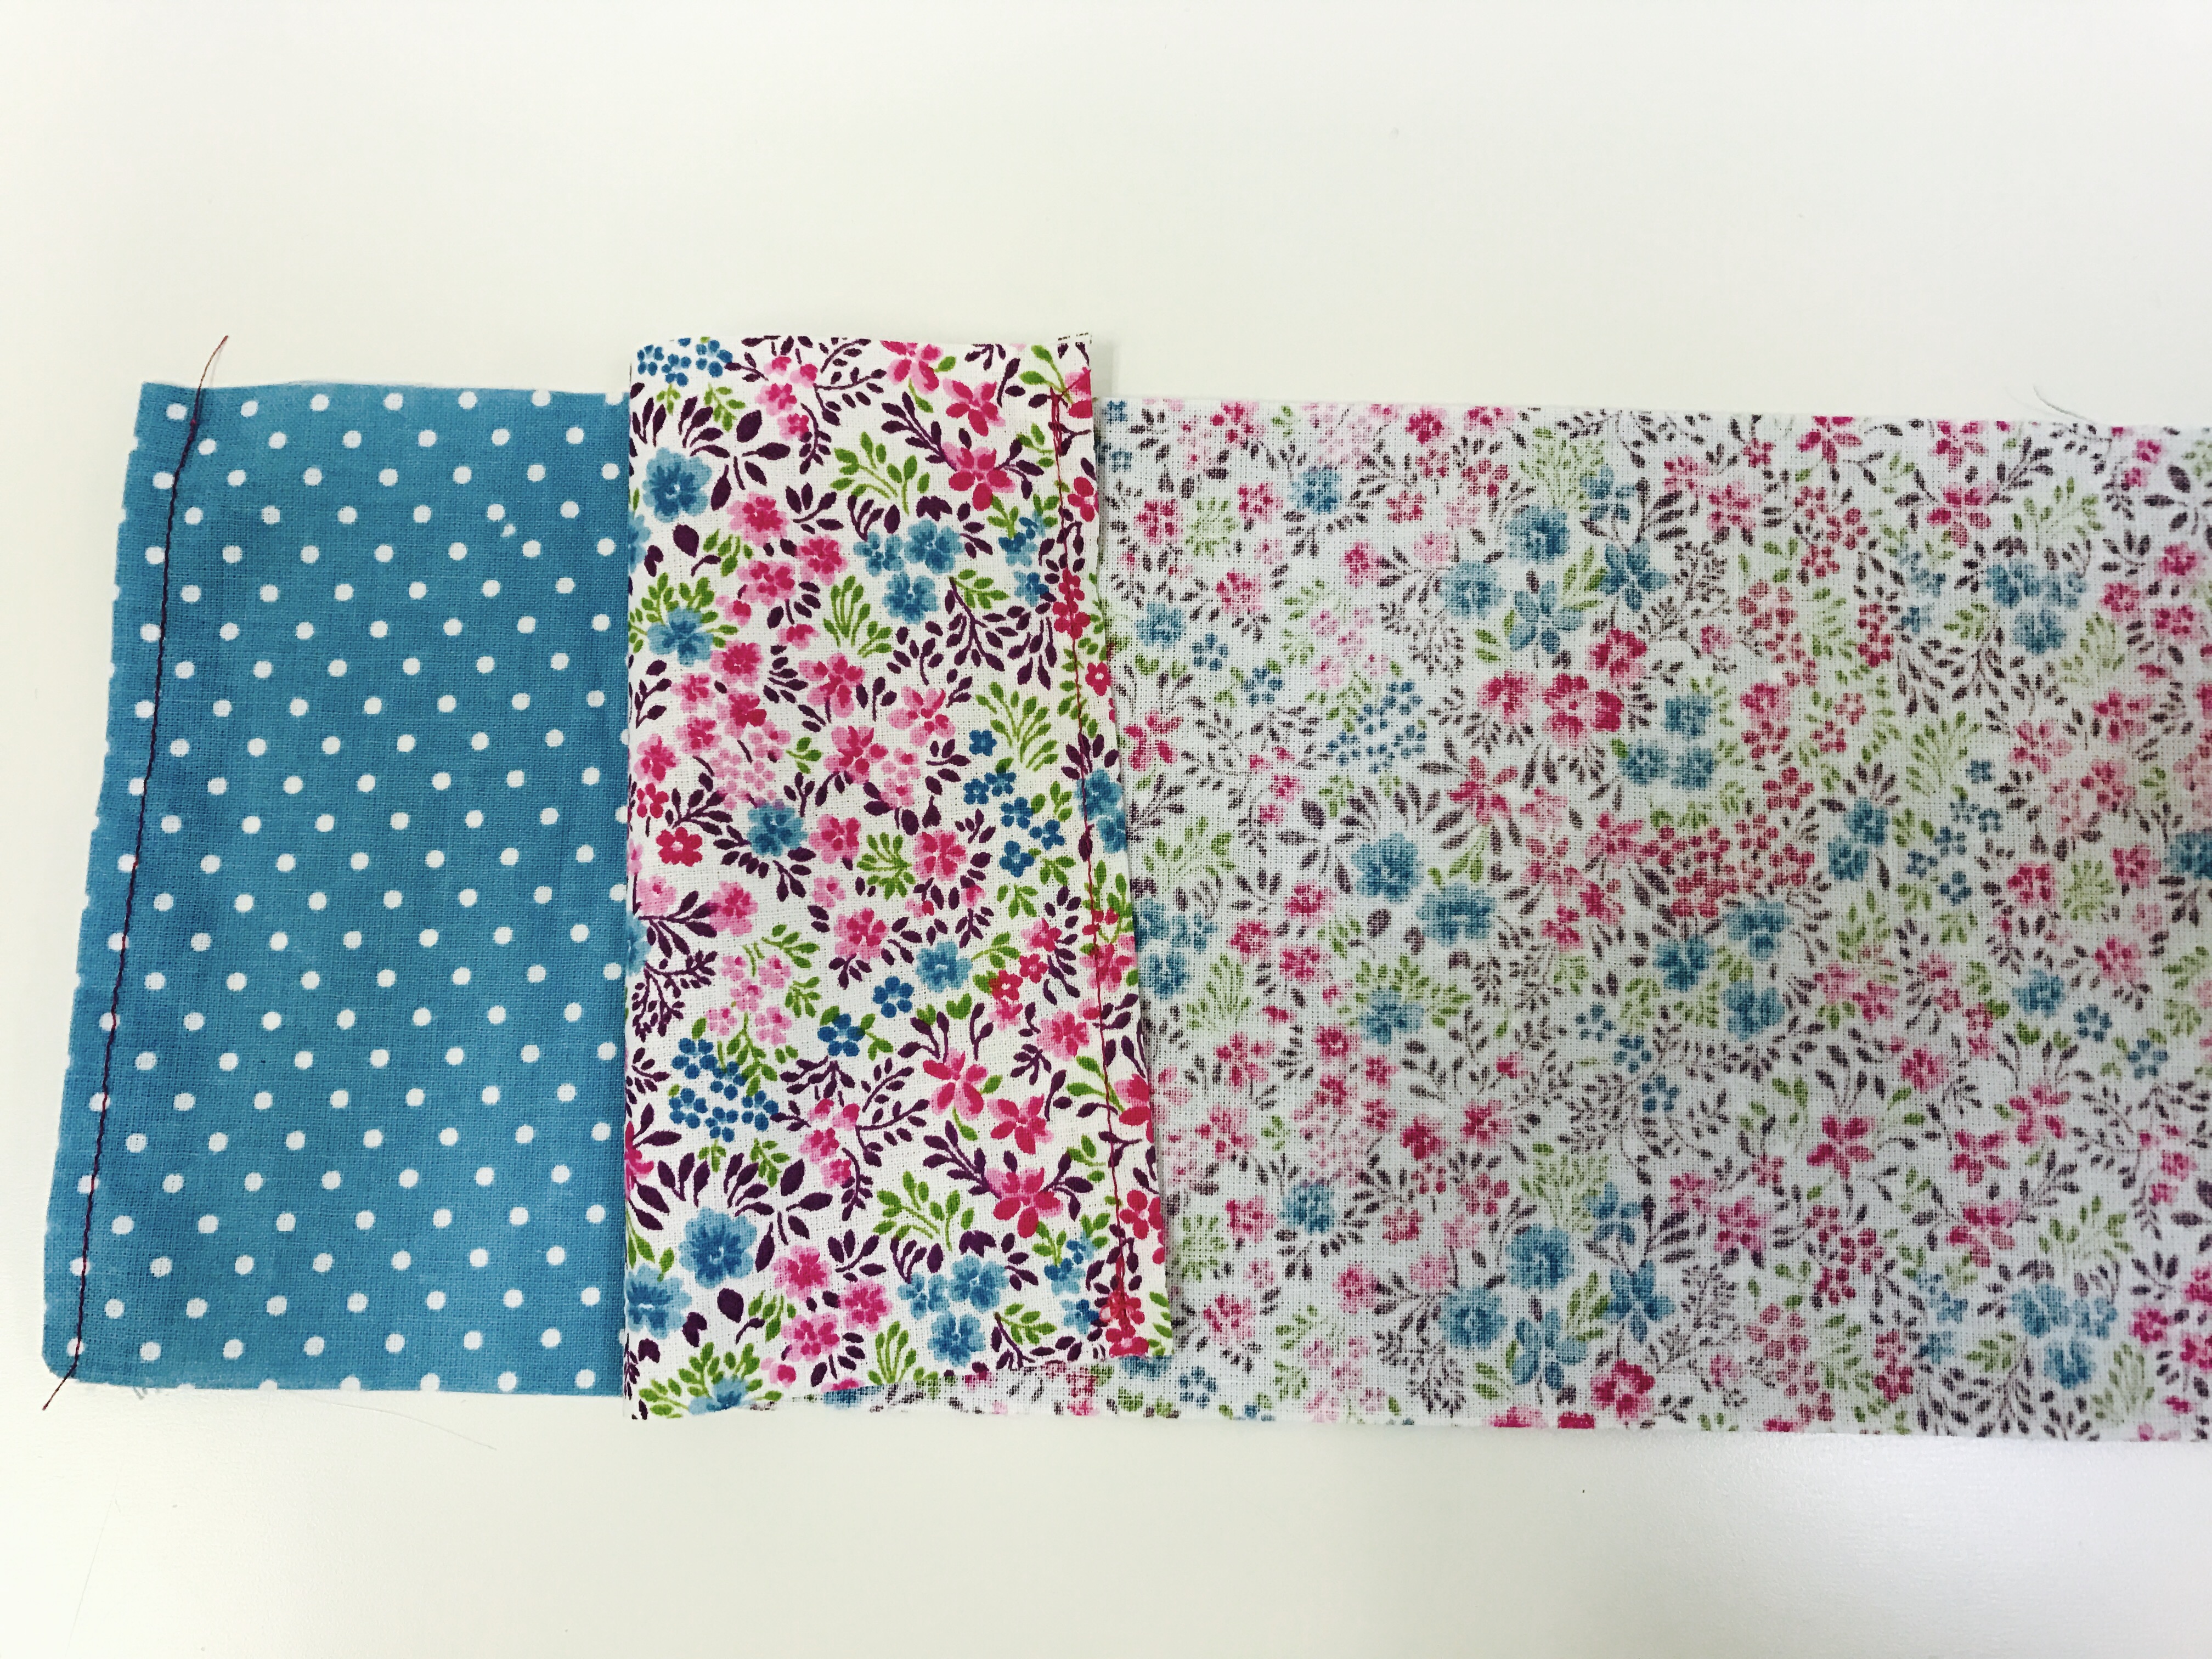
Step 3: Making the tube

Stack the rectangles on top of each other with the pretty sides of fabric facing each other, like this:

Making sure all four sides are matching, pin through both layers along the two long sides.  (My pins didn’t show up really well in the picture below.)

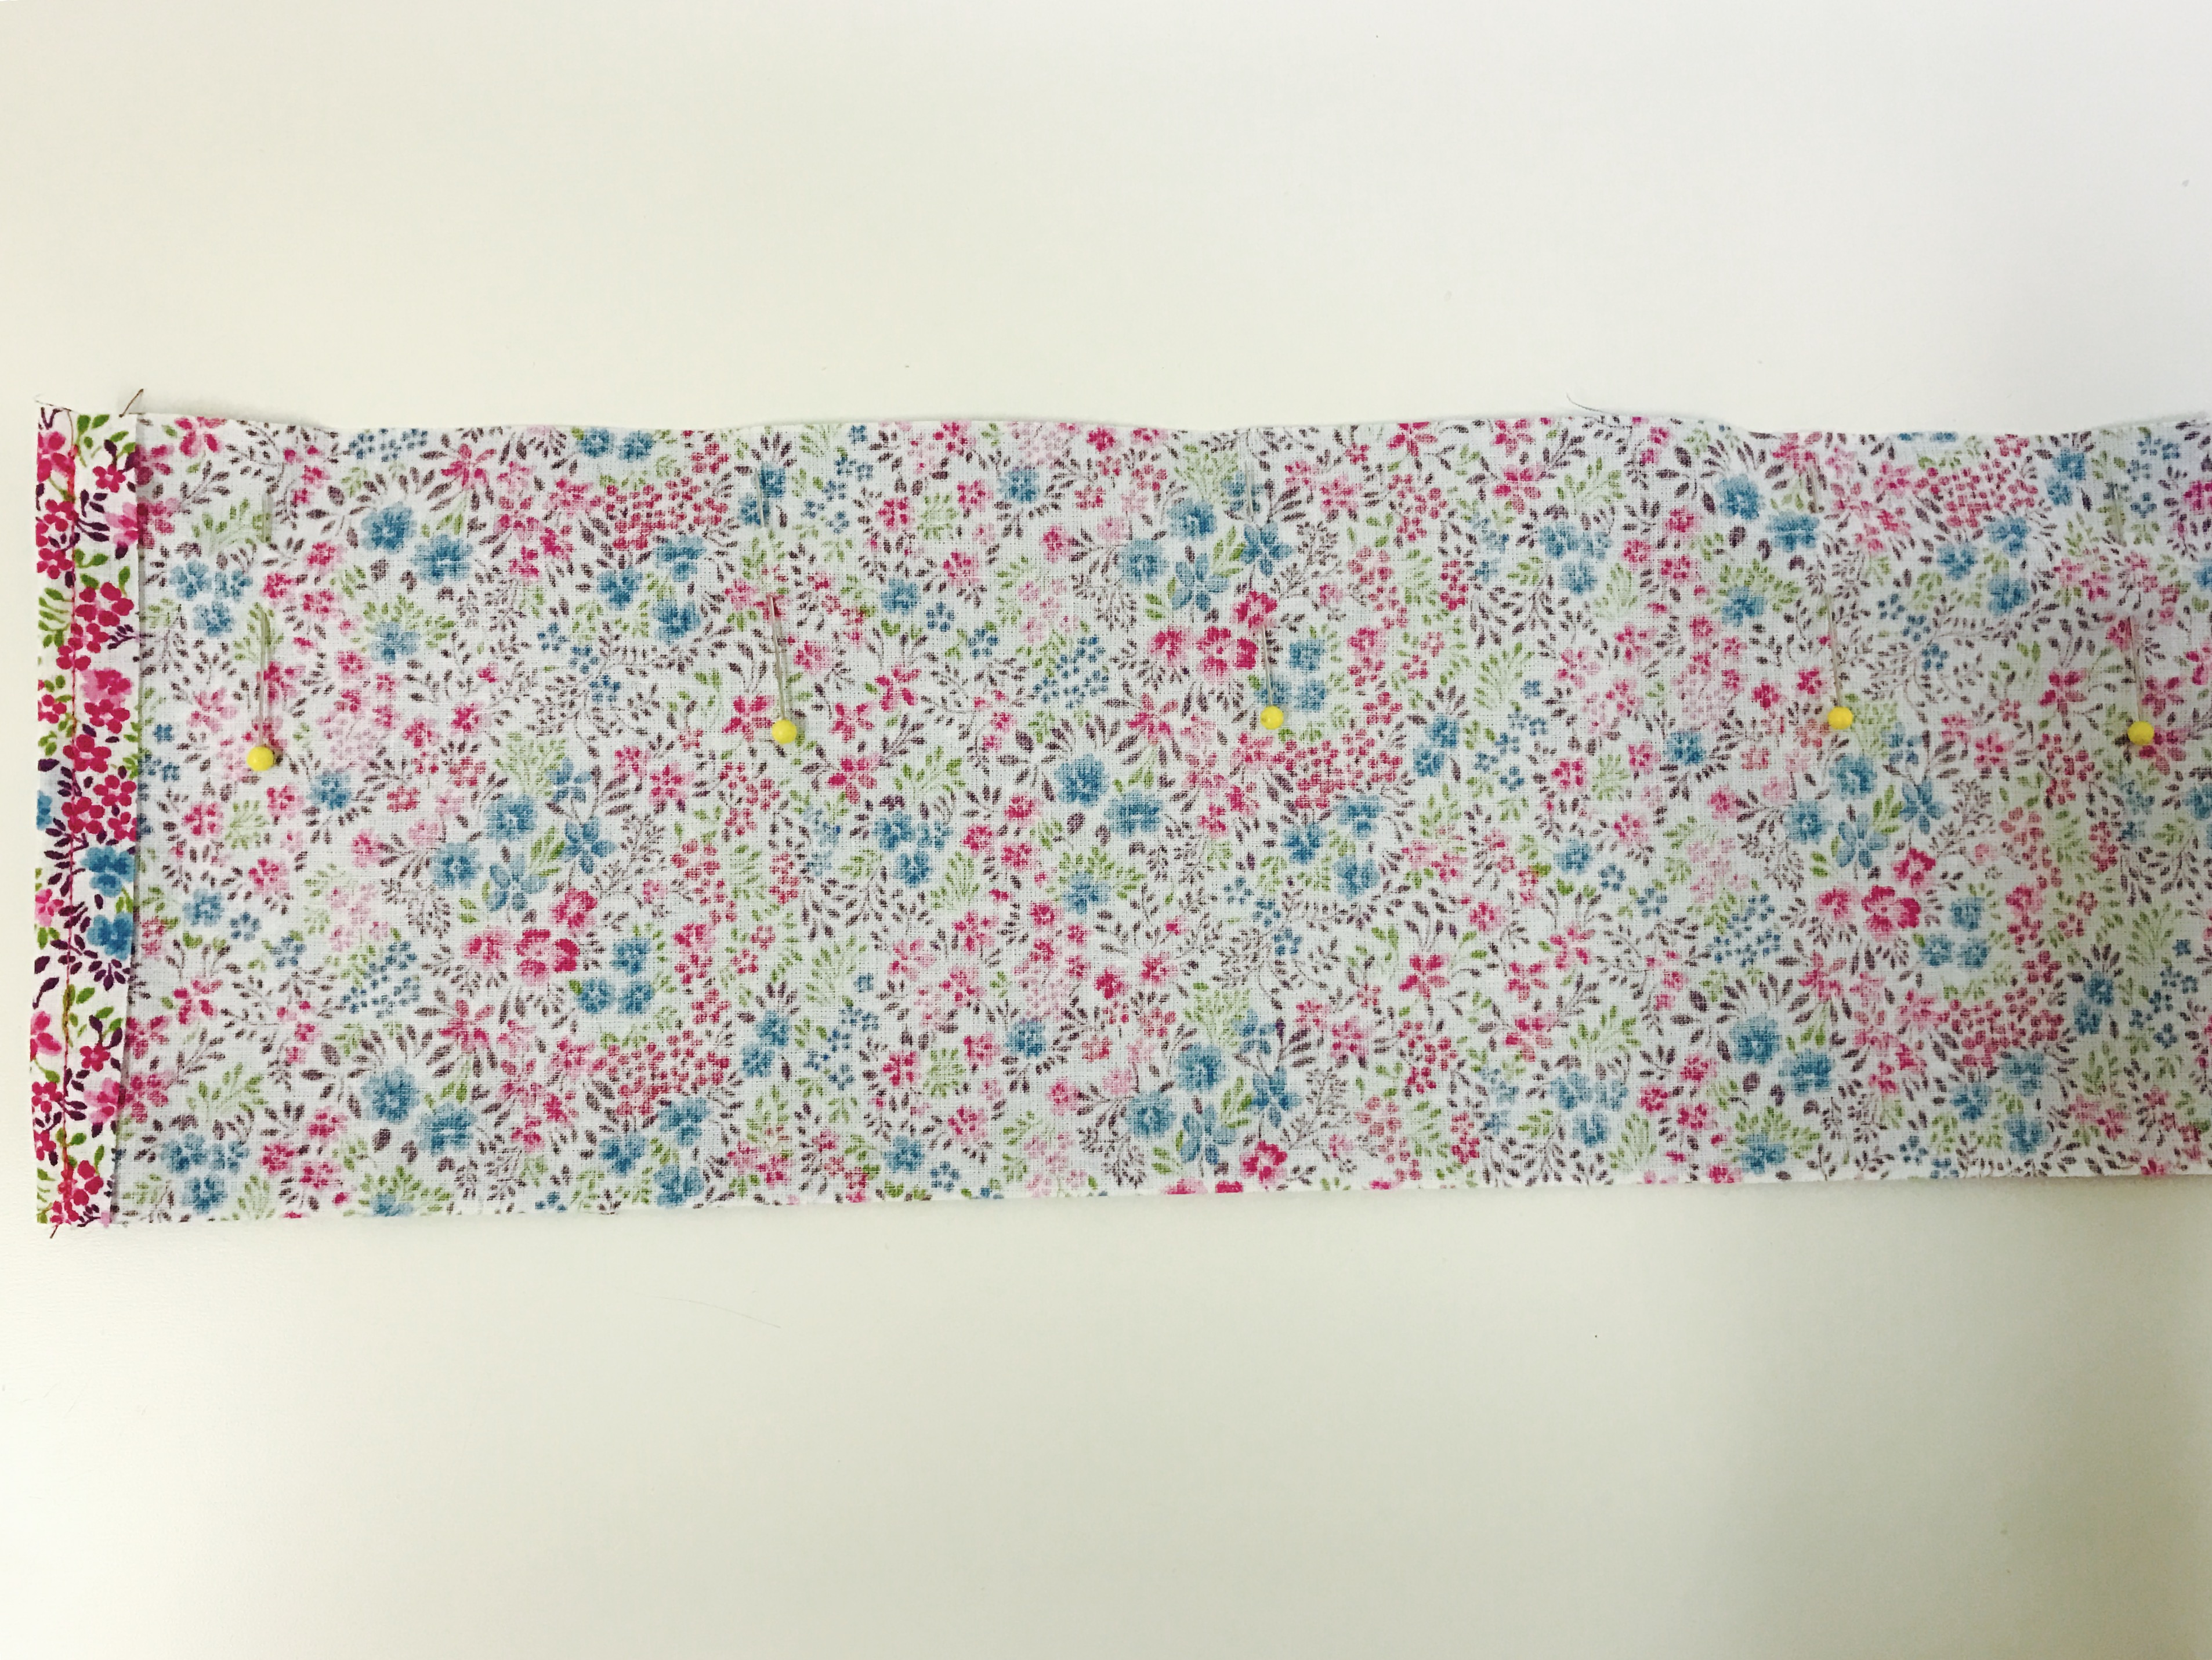
After your pins are in place, stitch along both long ends:

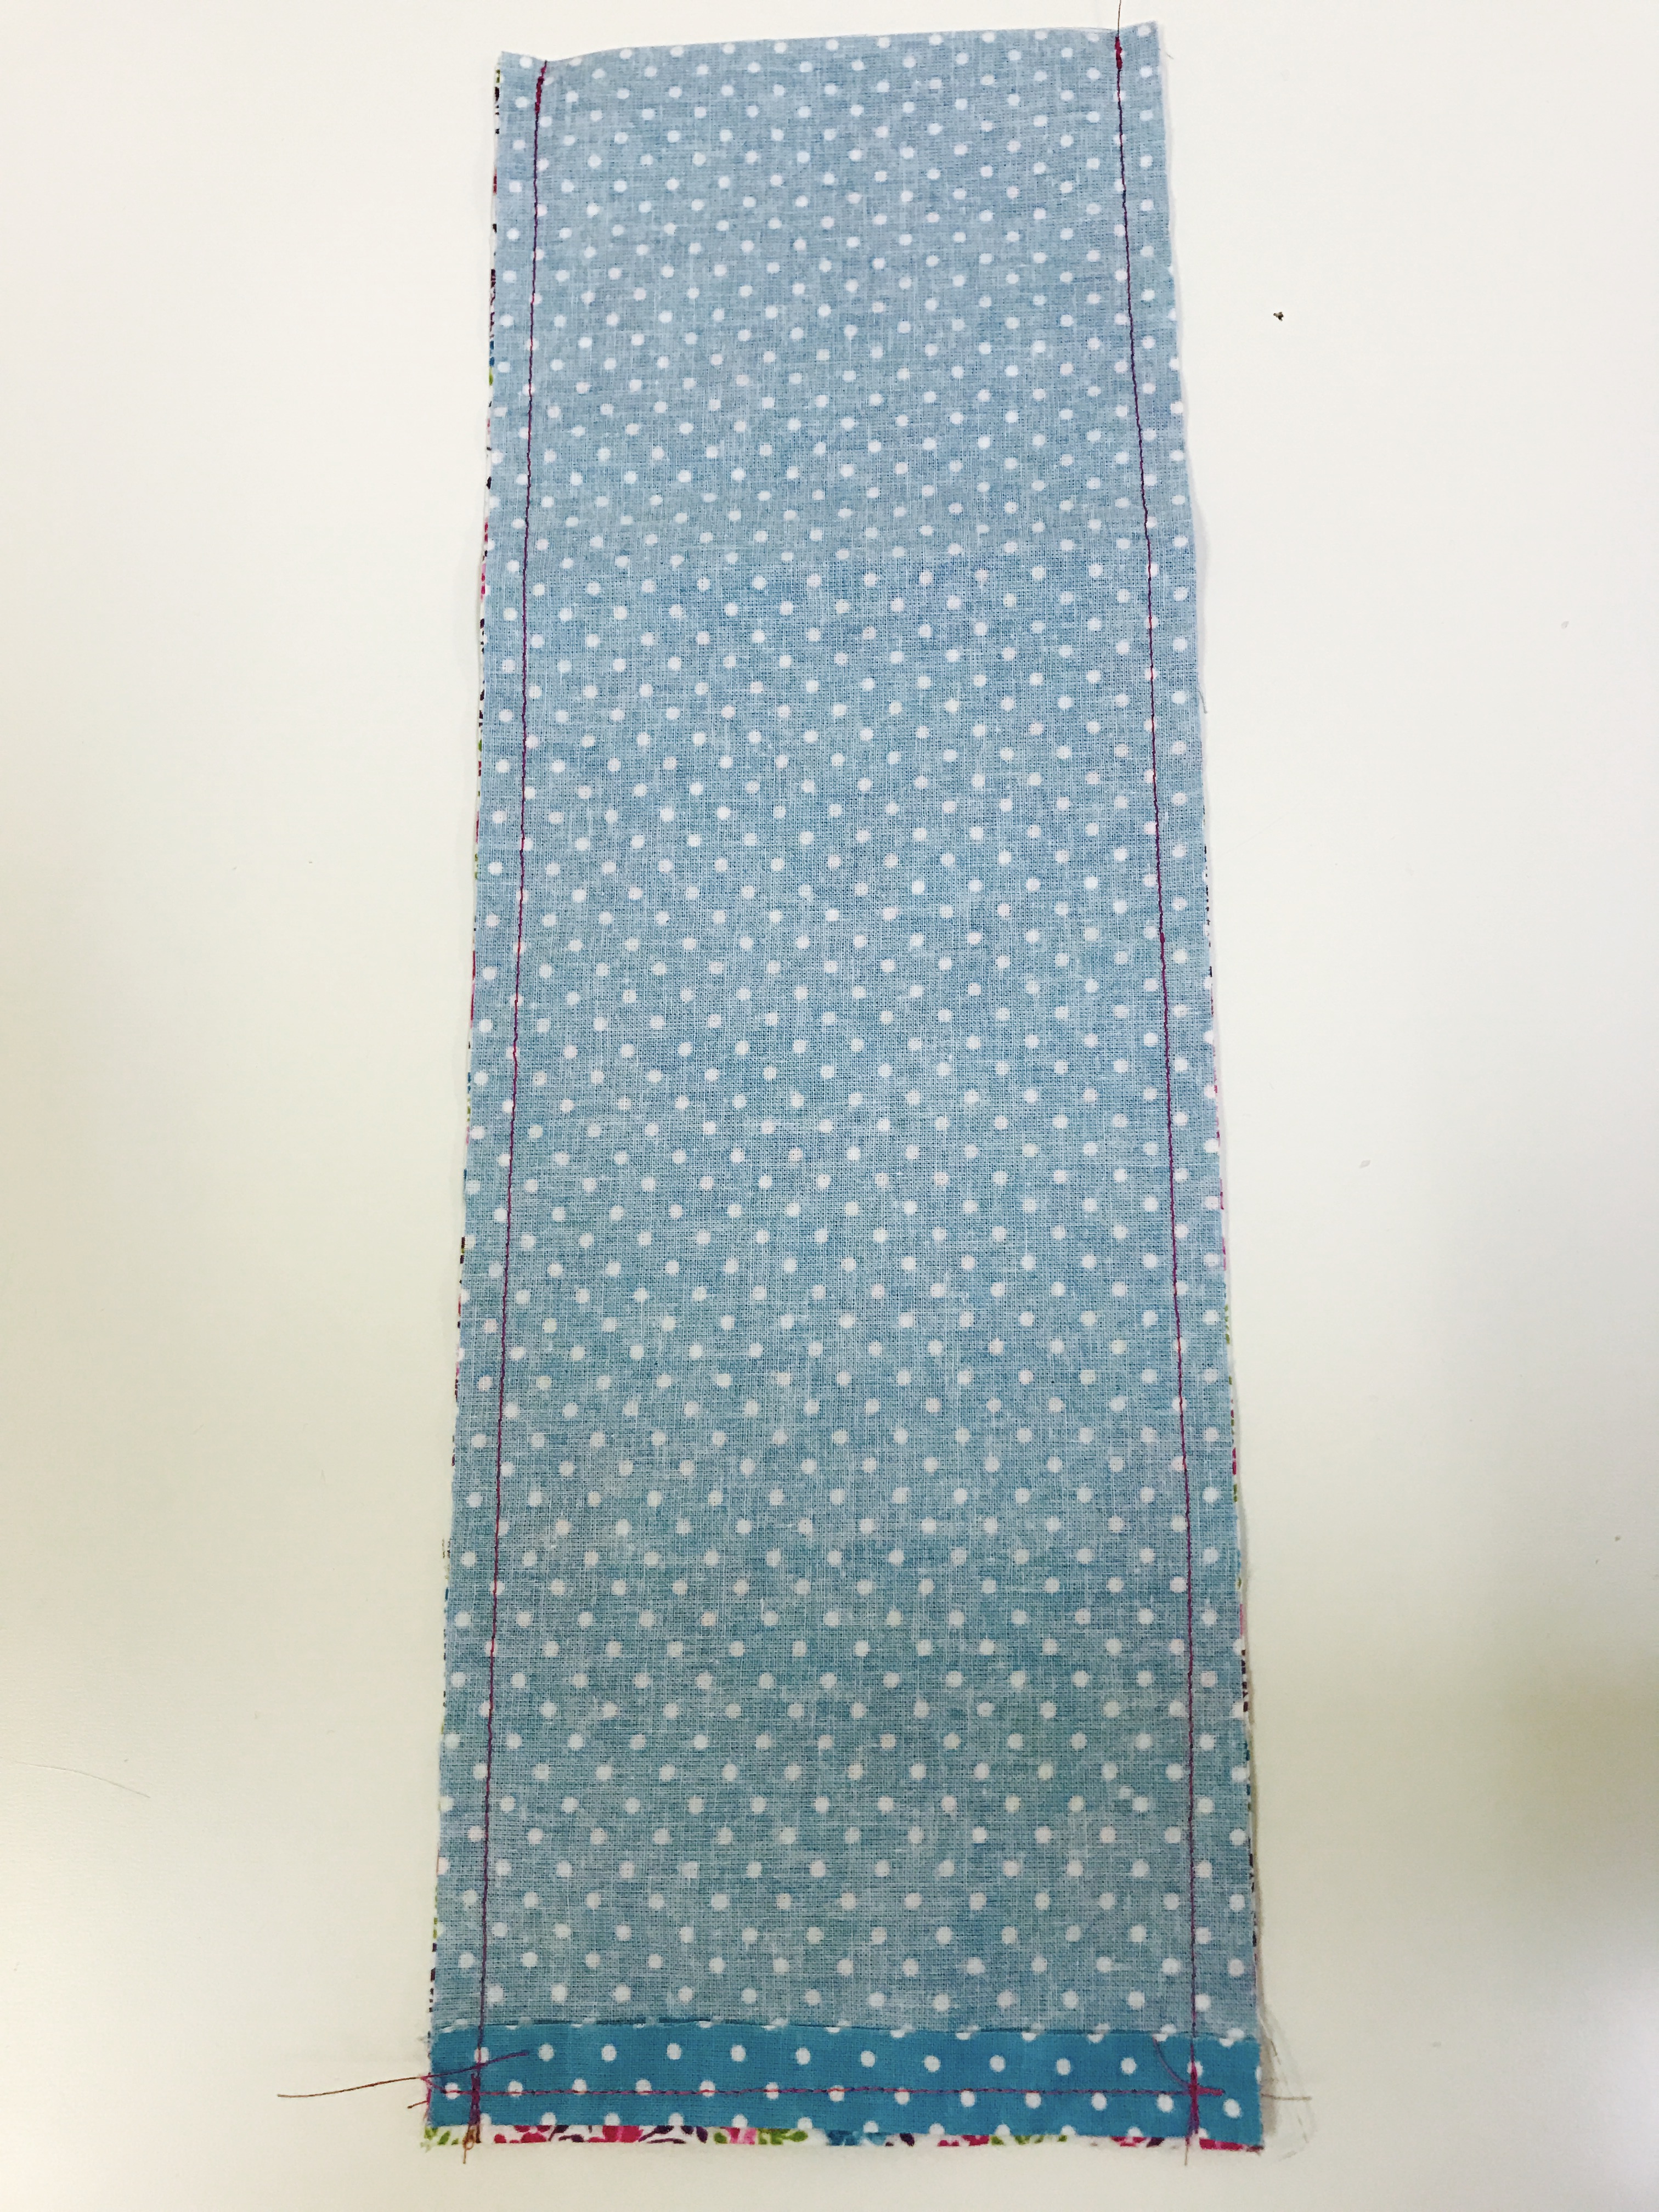
Step 4: Flipping the tube

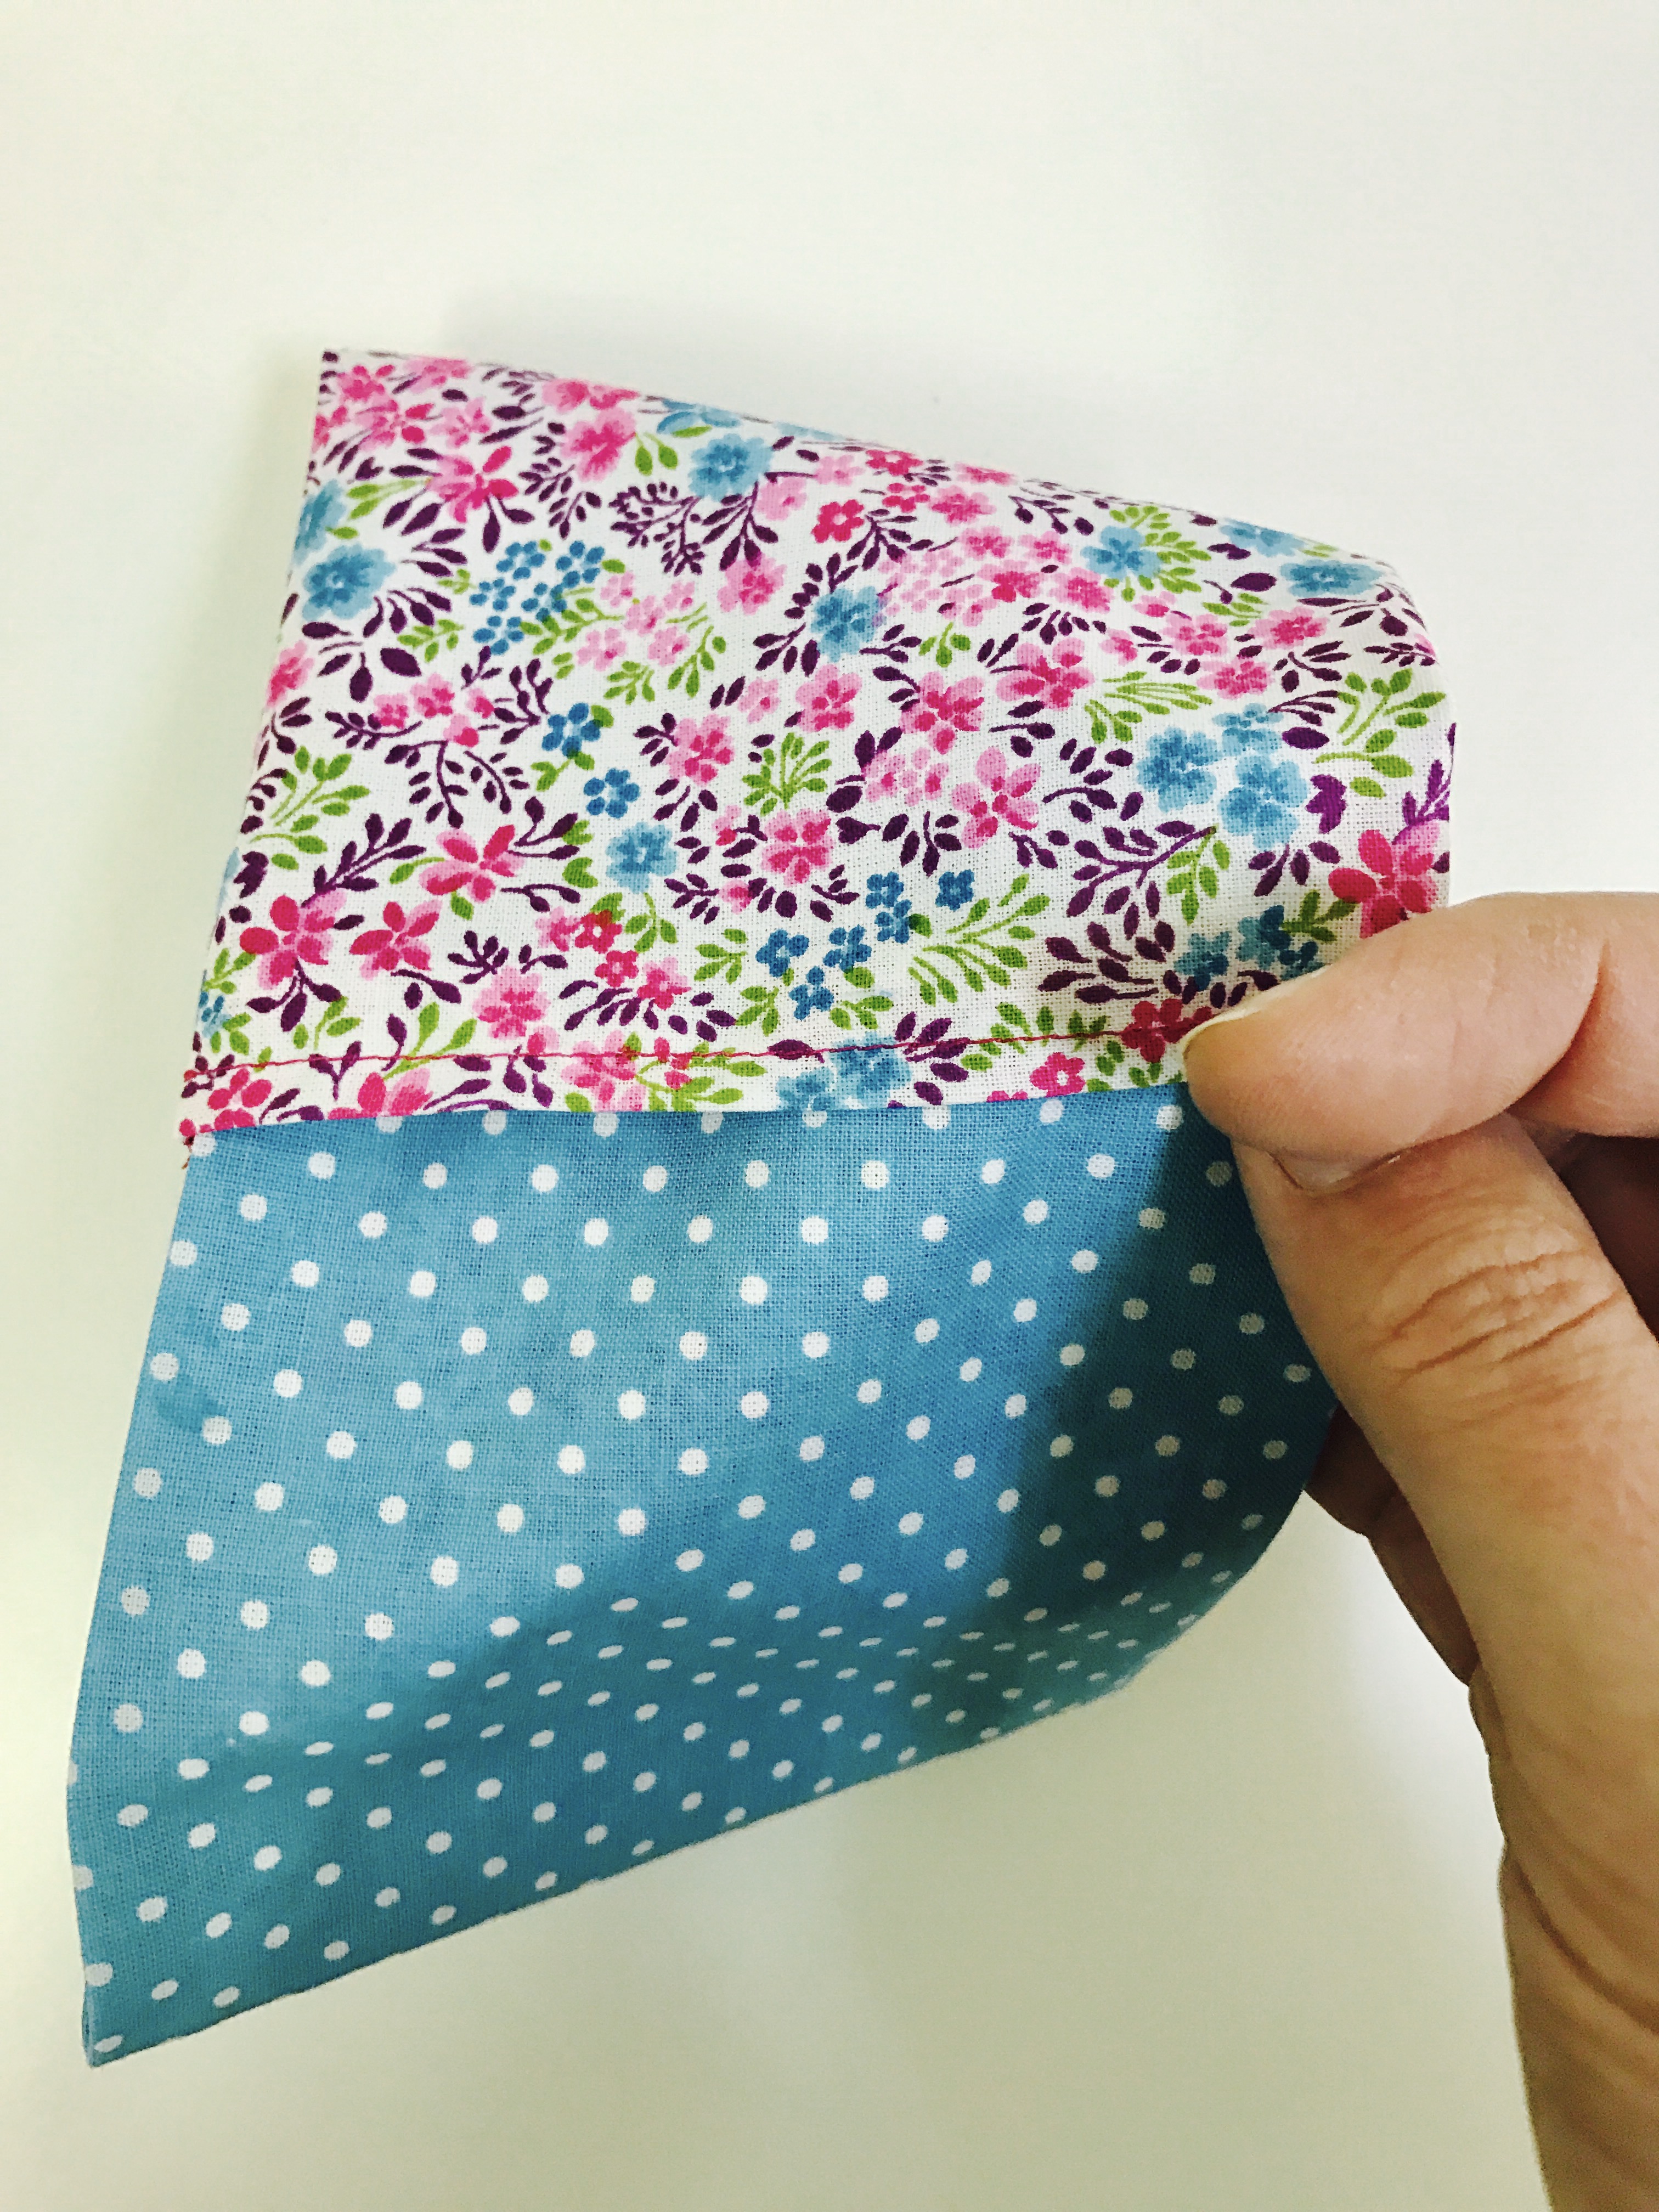
Flip the tube through one of the short openings, pretty sides out.

Your tube should now look something like this:

Step 5: A twist on the closure

Lay the tube flat on the table. The seams should be running along each side, like this:

To give the scarf more body, we are going to give it a twist before we close it up.  Take one end of the tube and give it a twist:

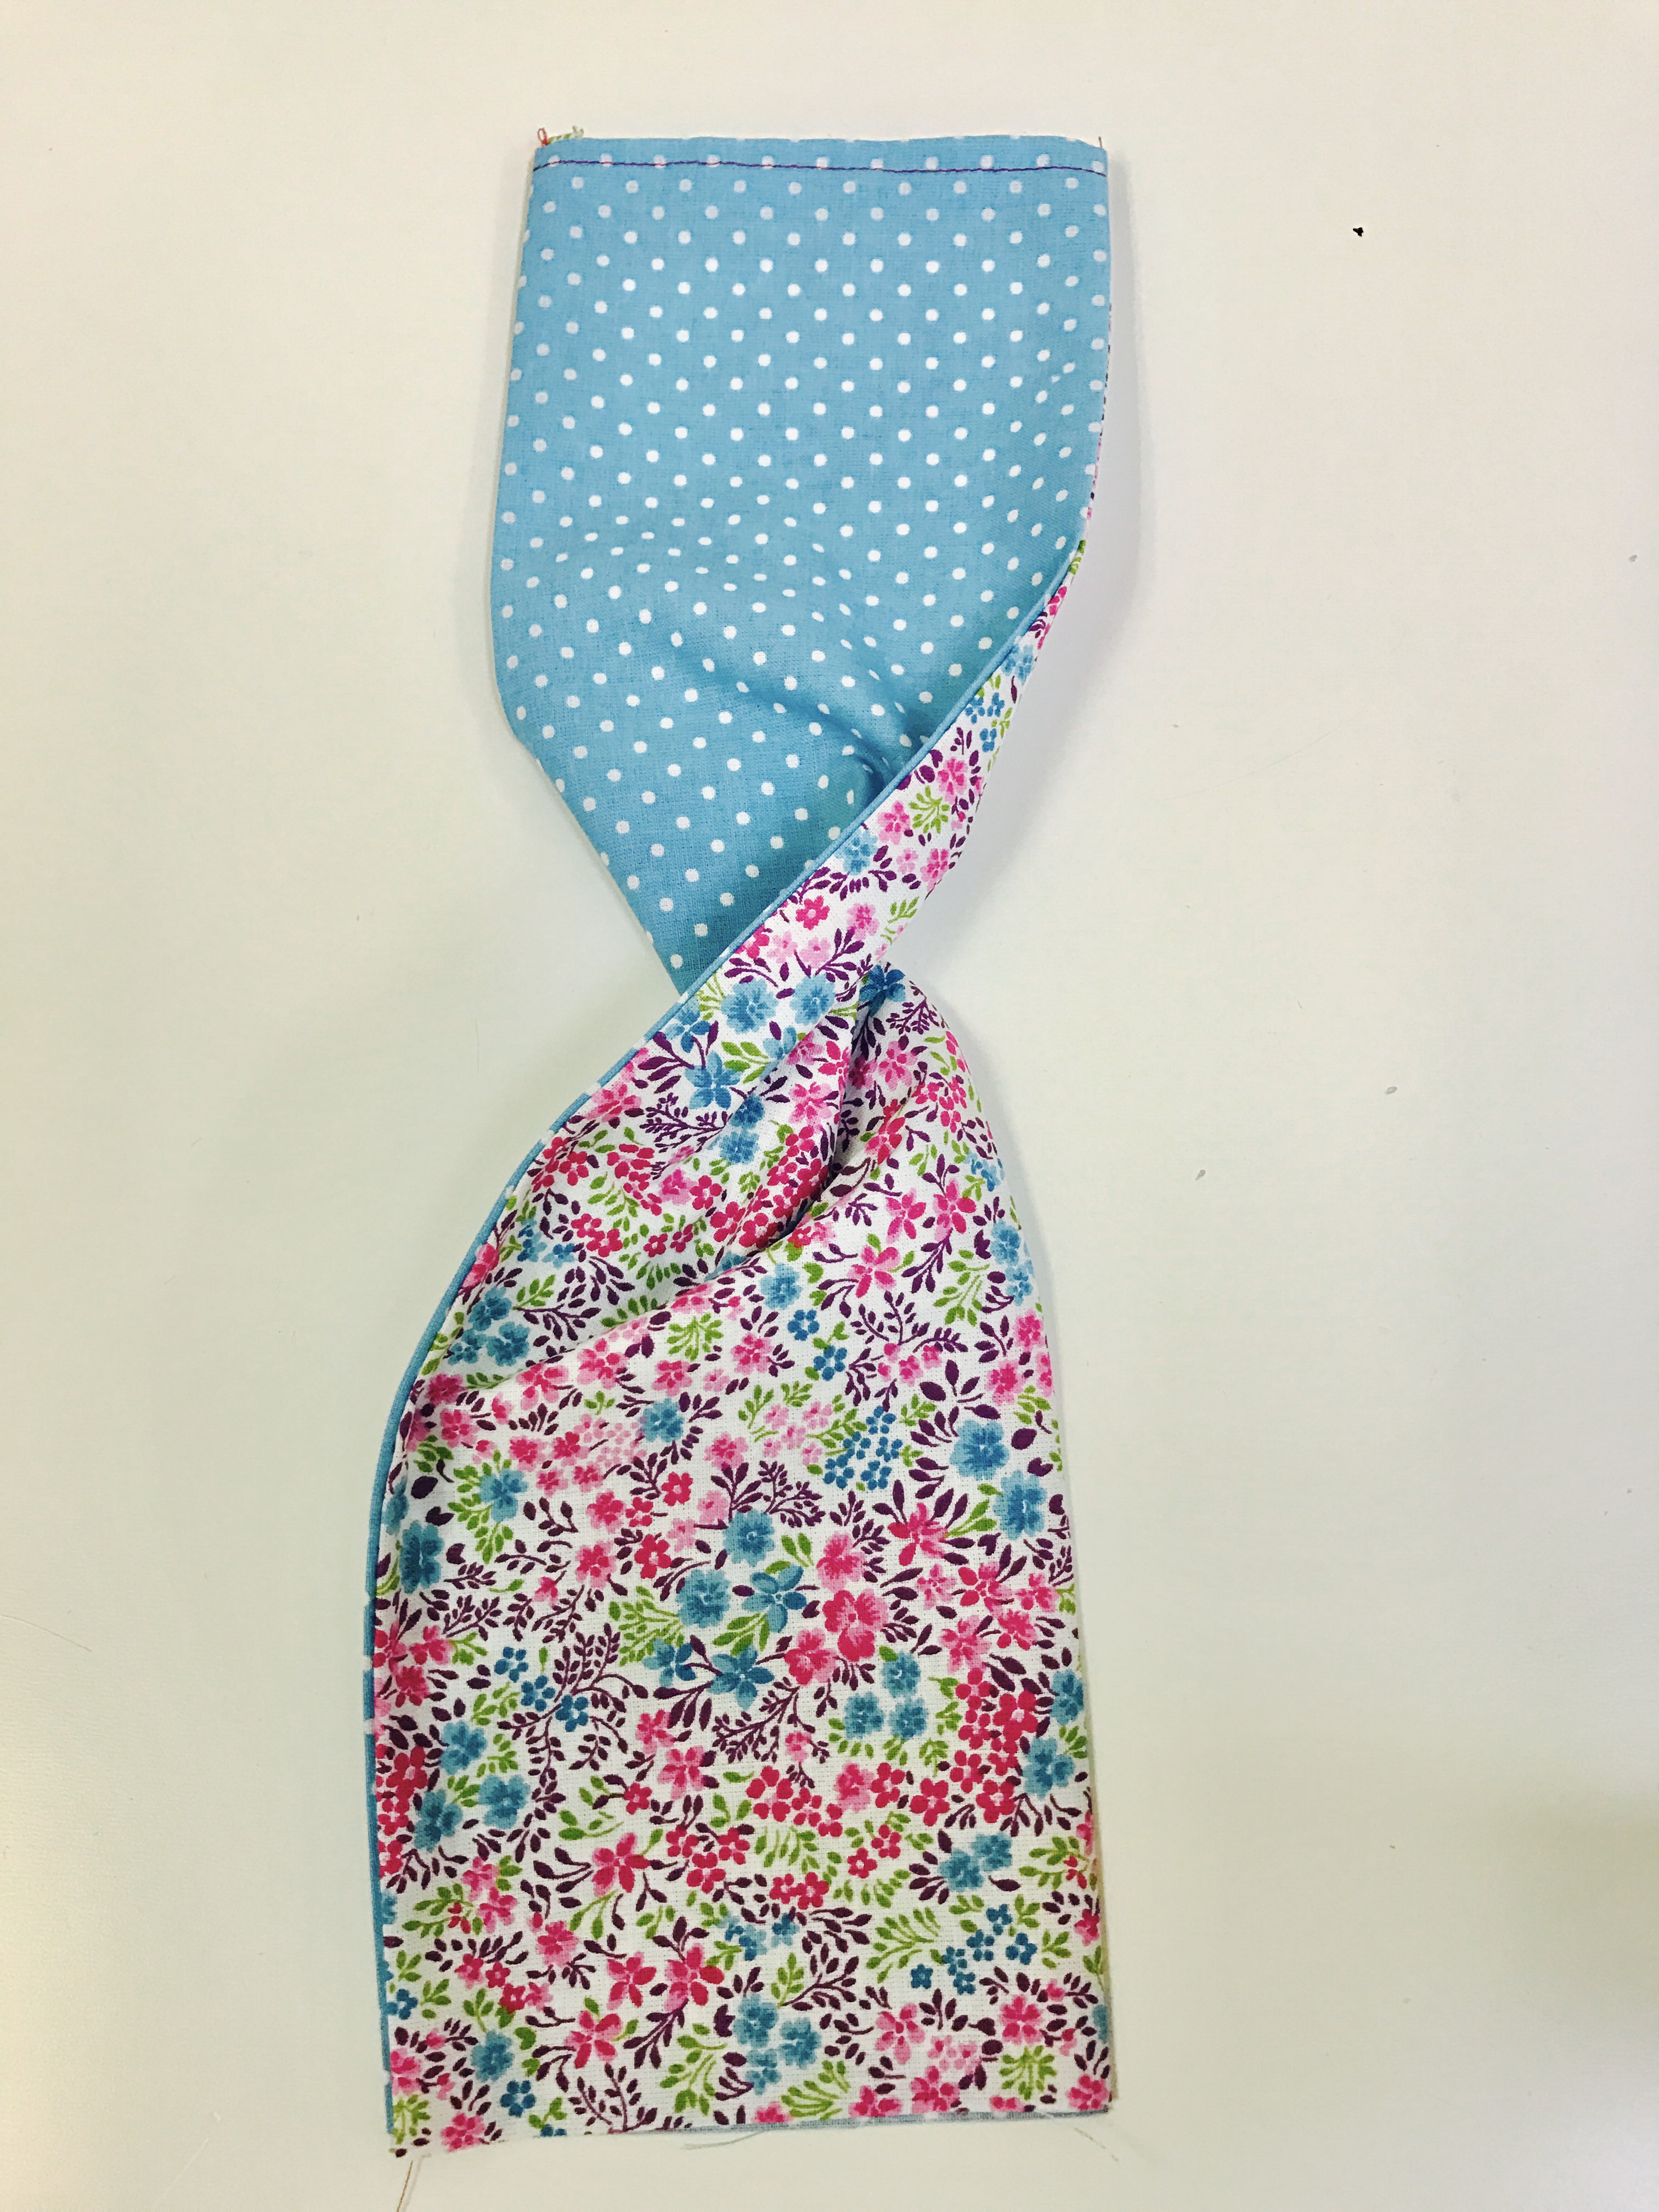
Bring the shorts ends together:

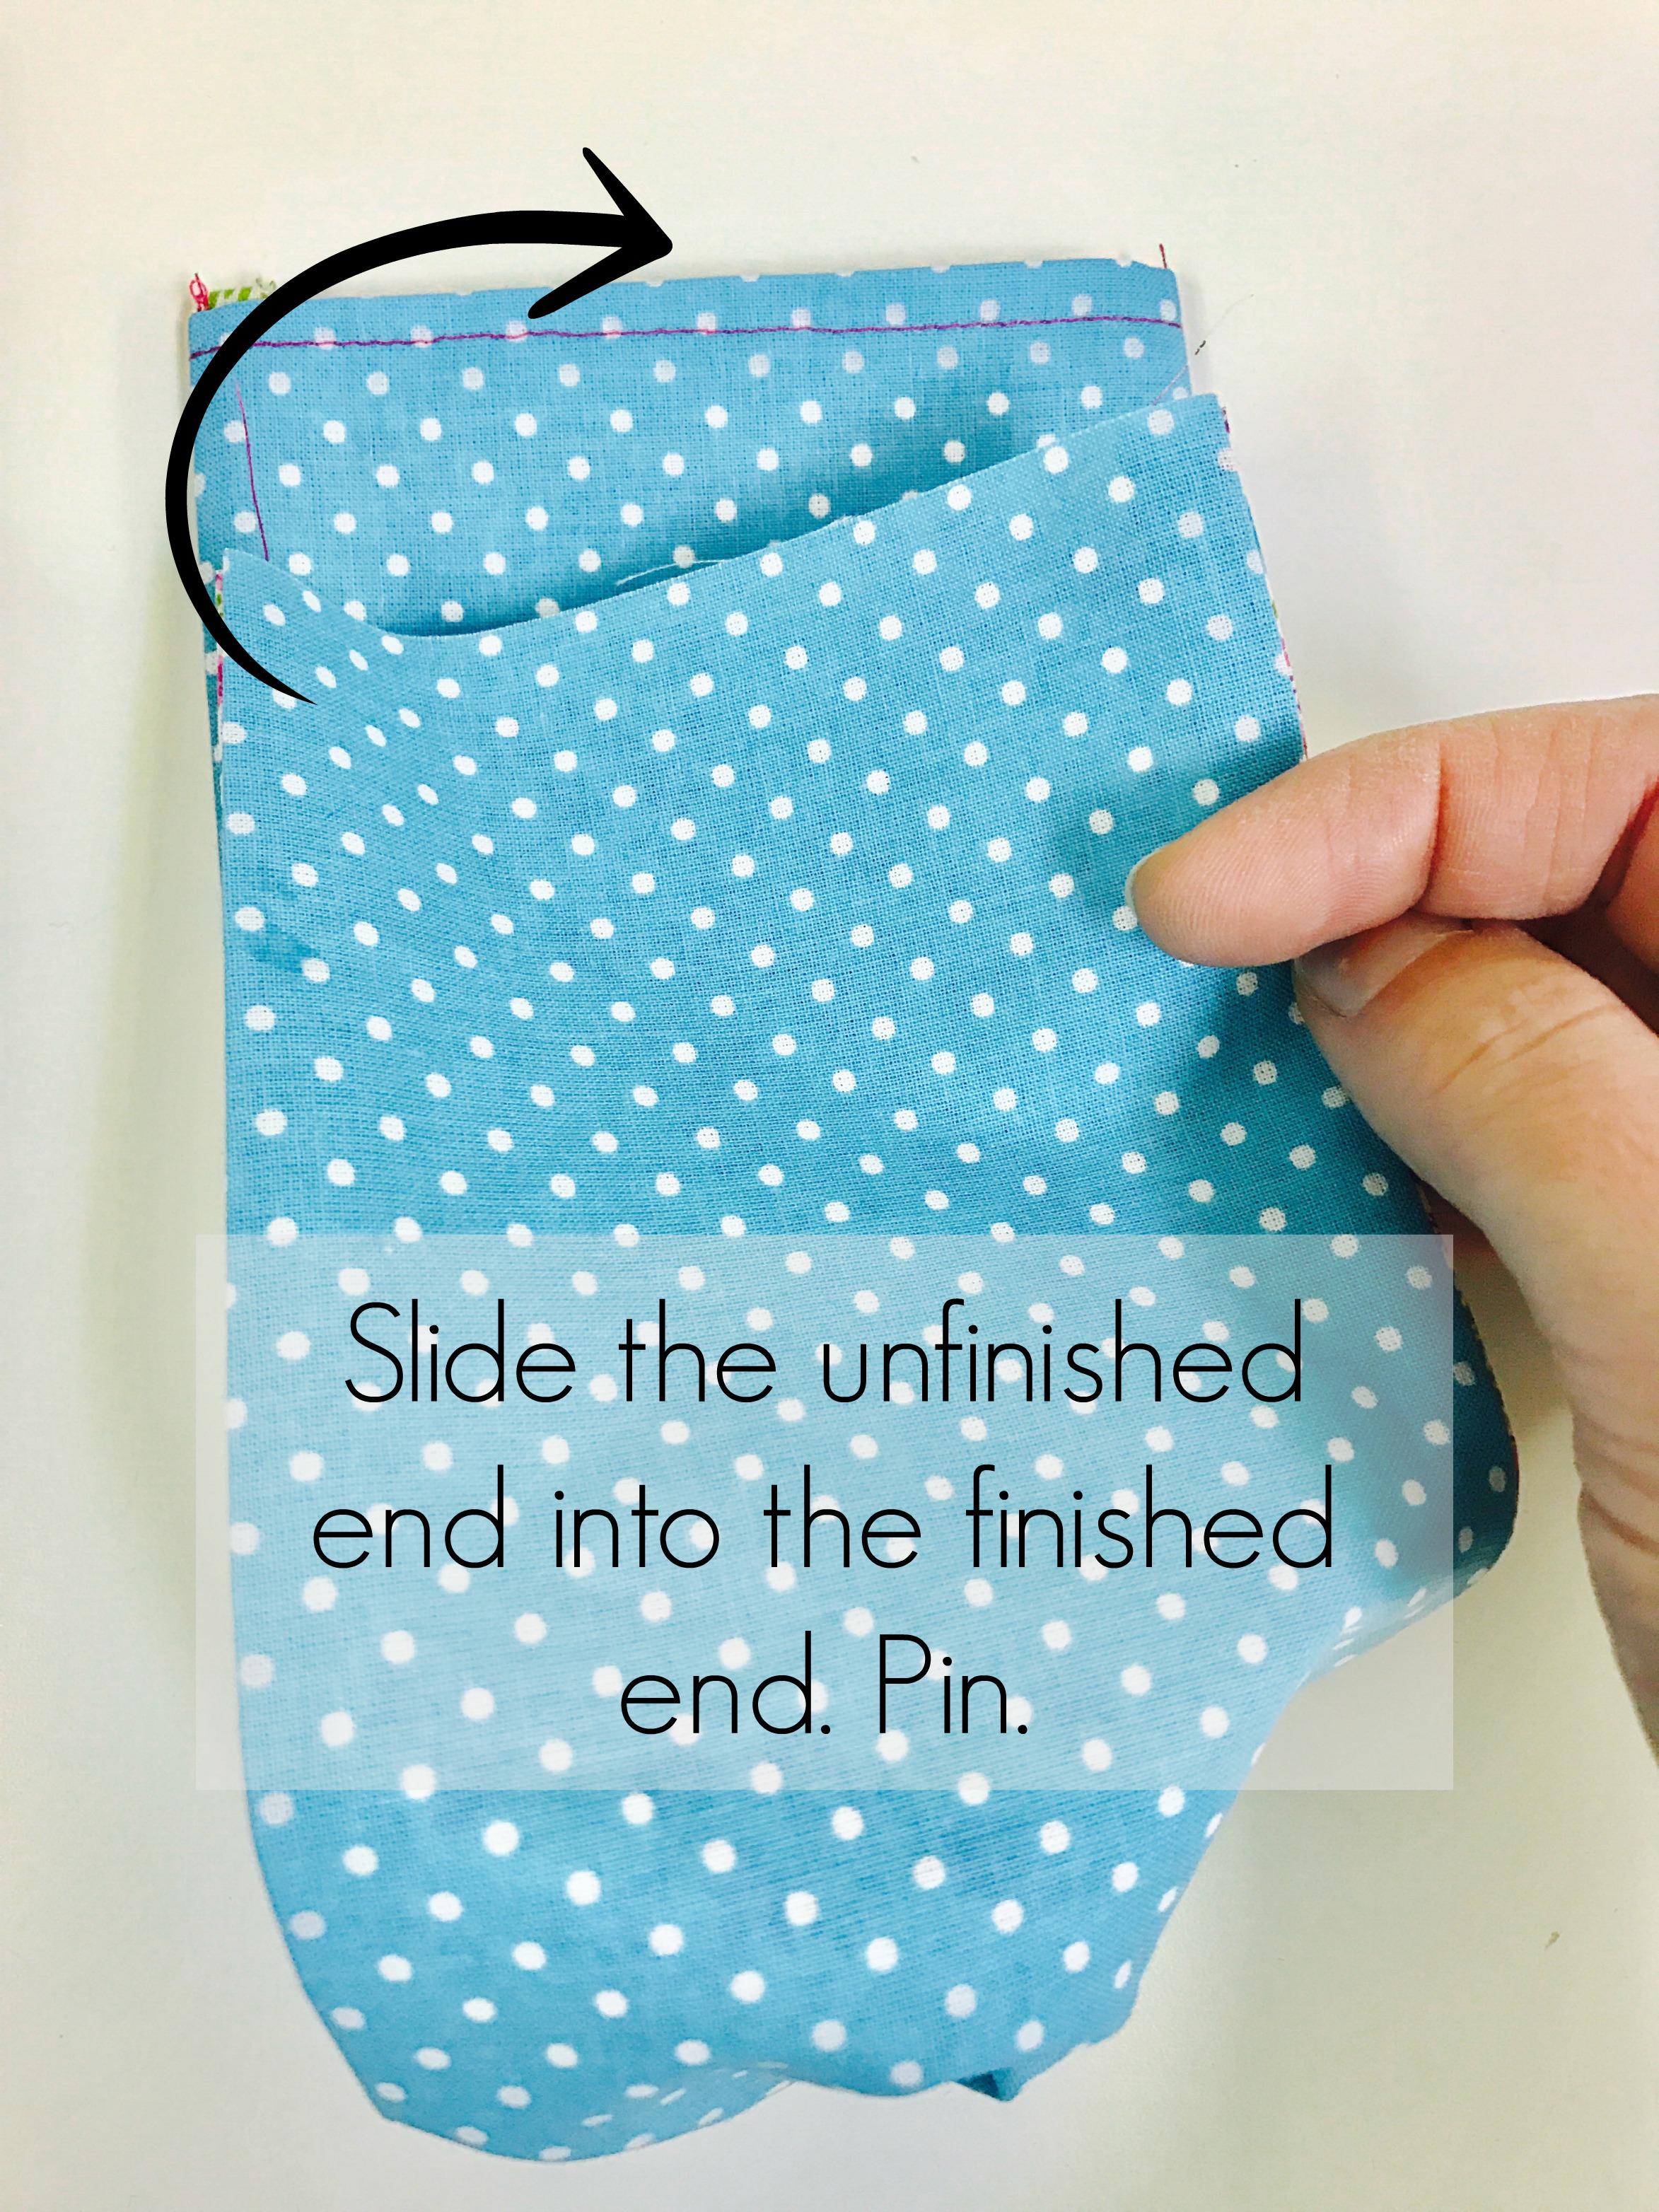
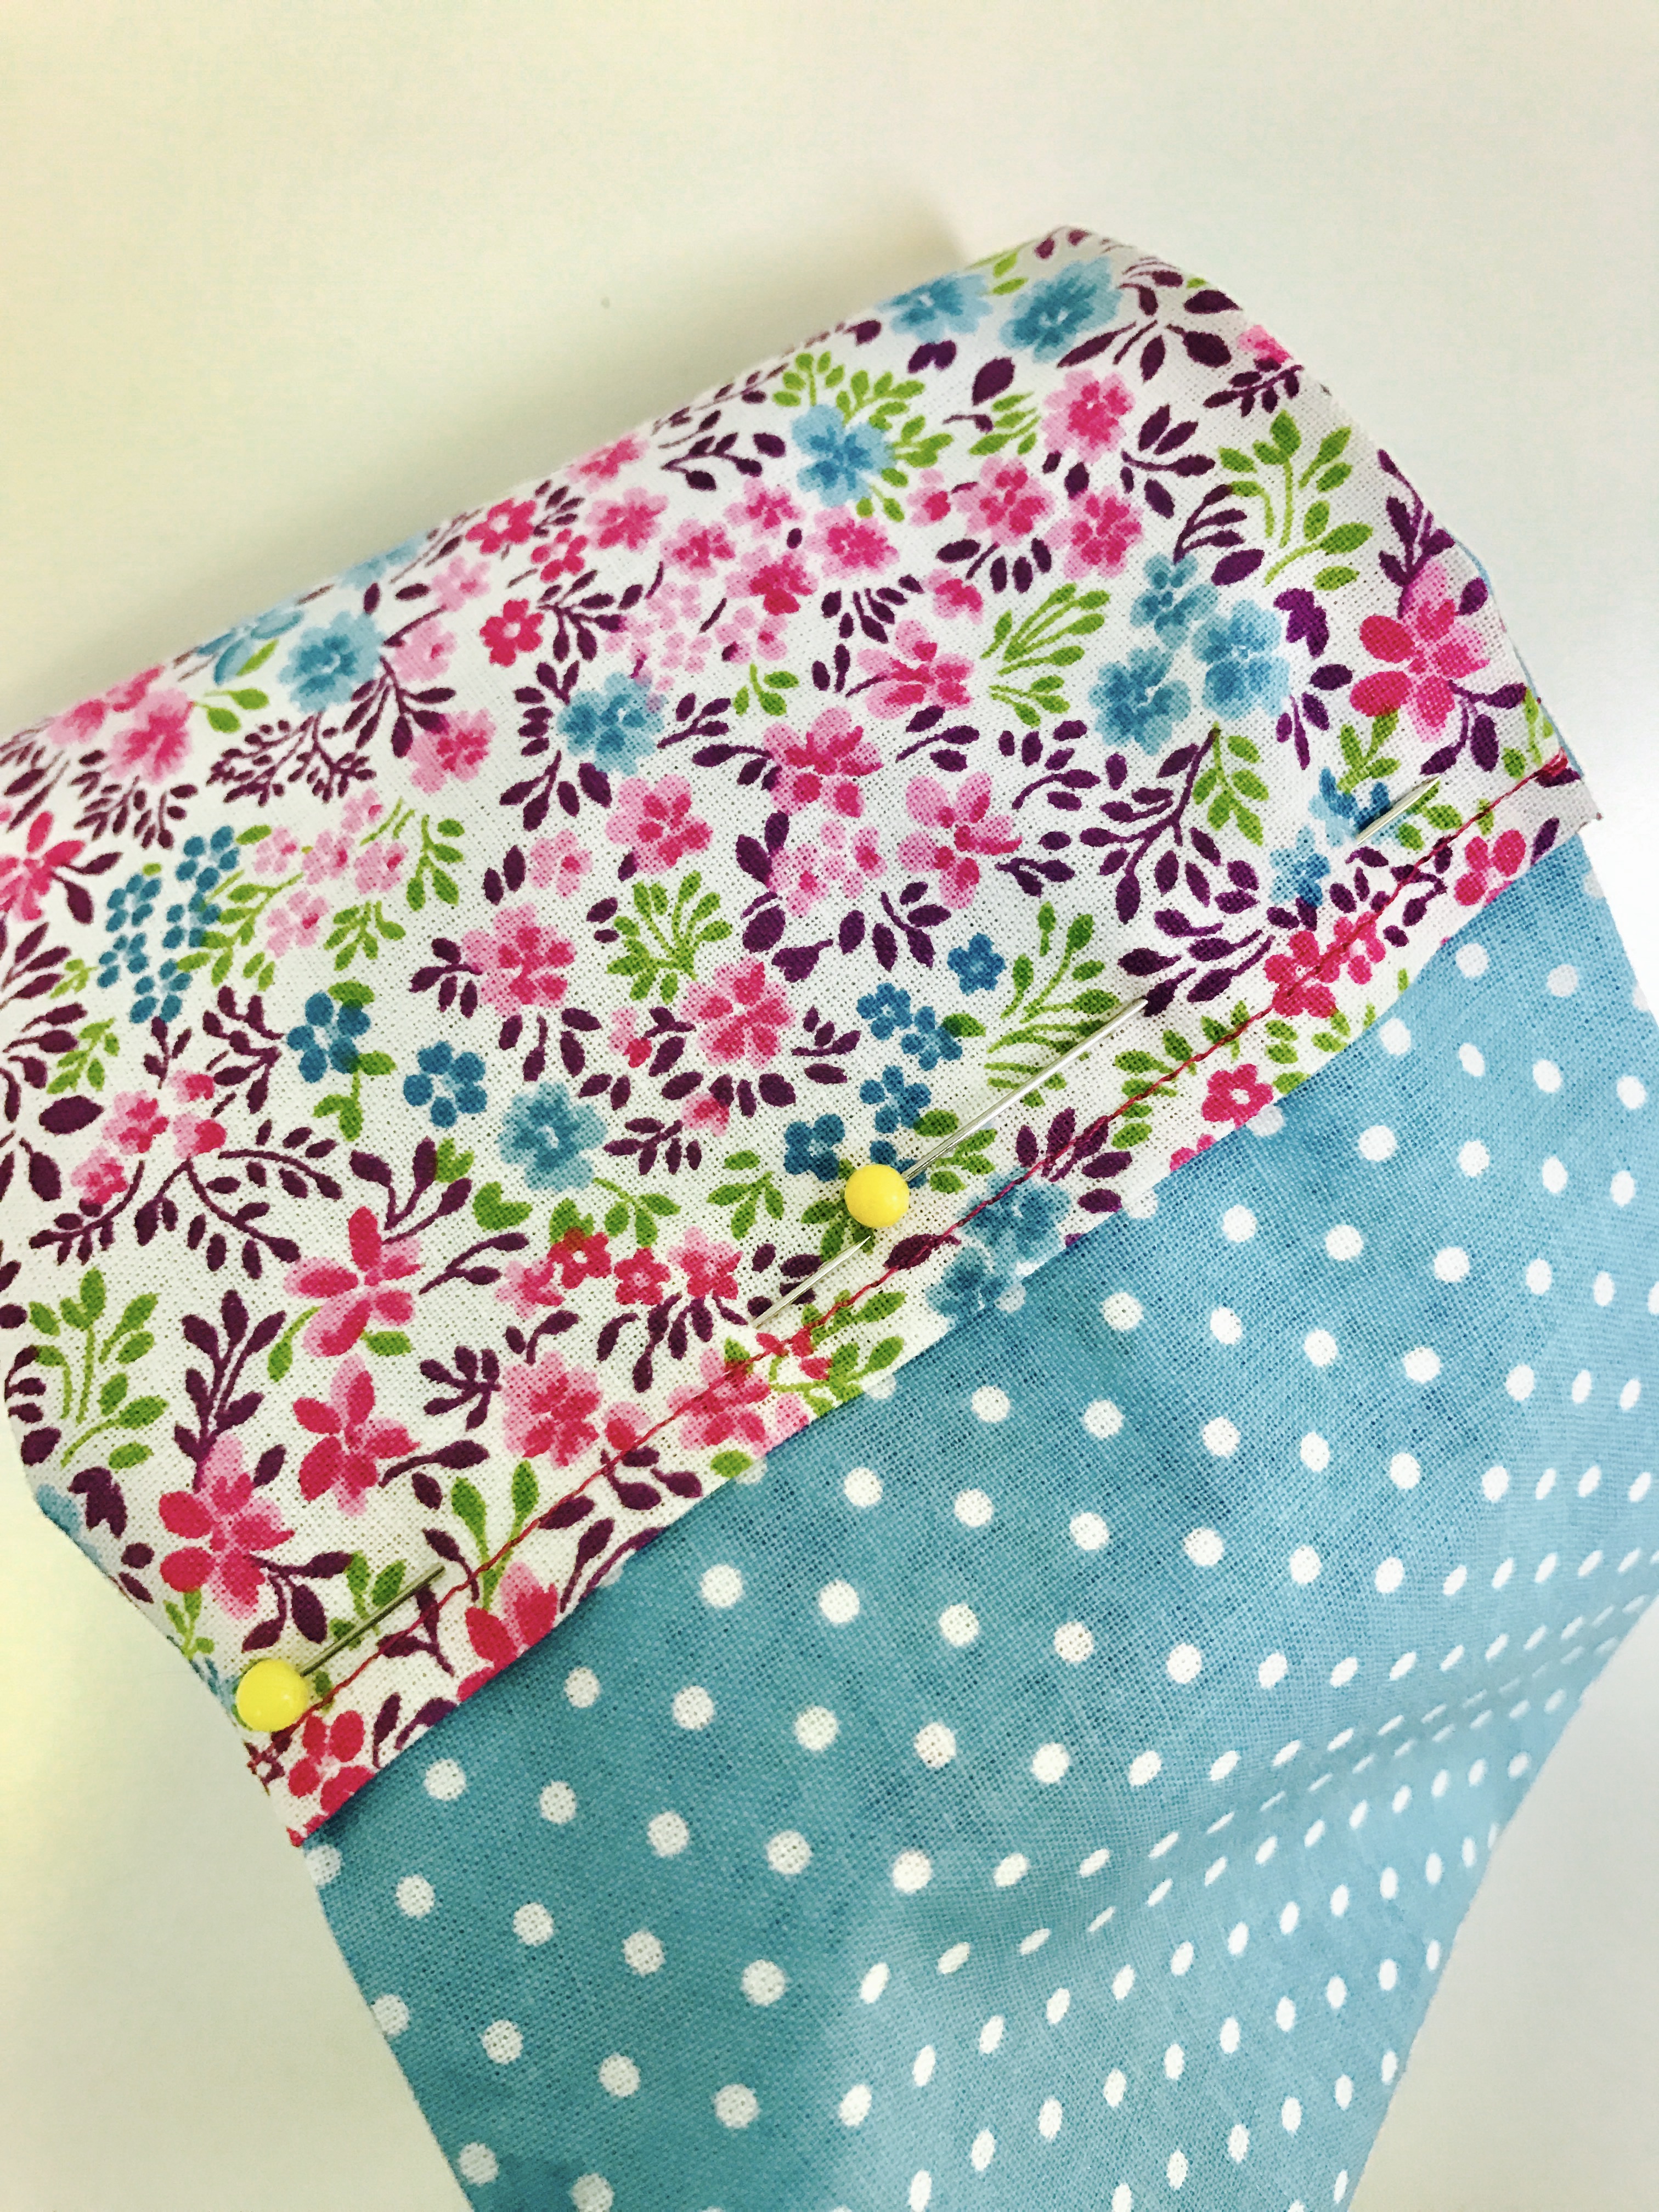
Slide the unfinished opening into the finished opening, like this:

And pin:

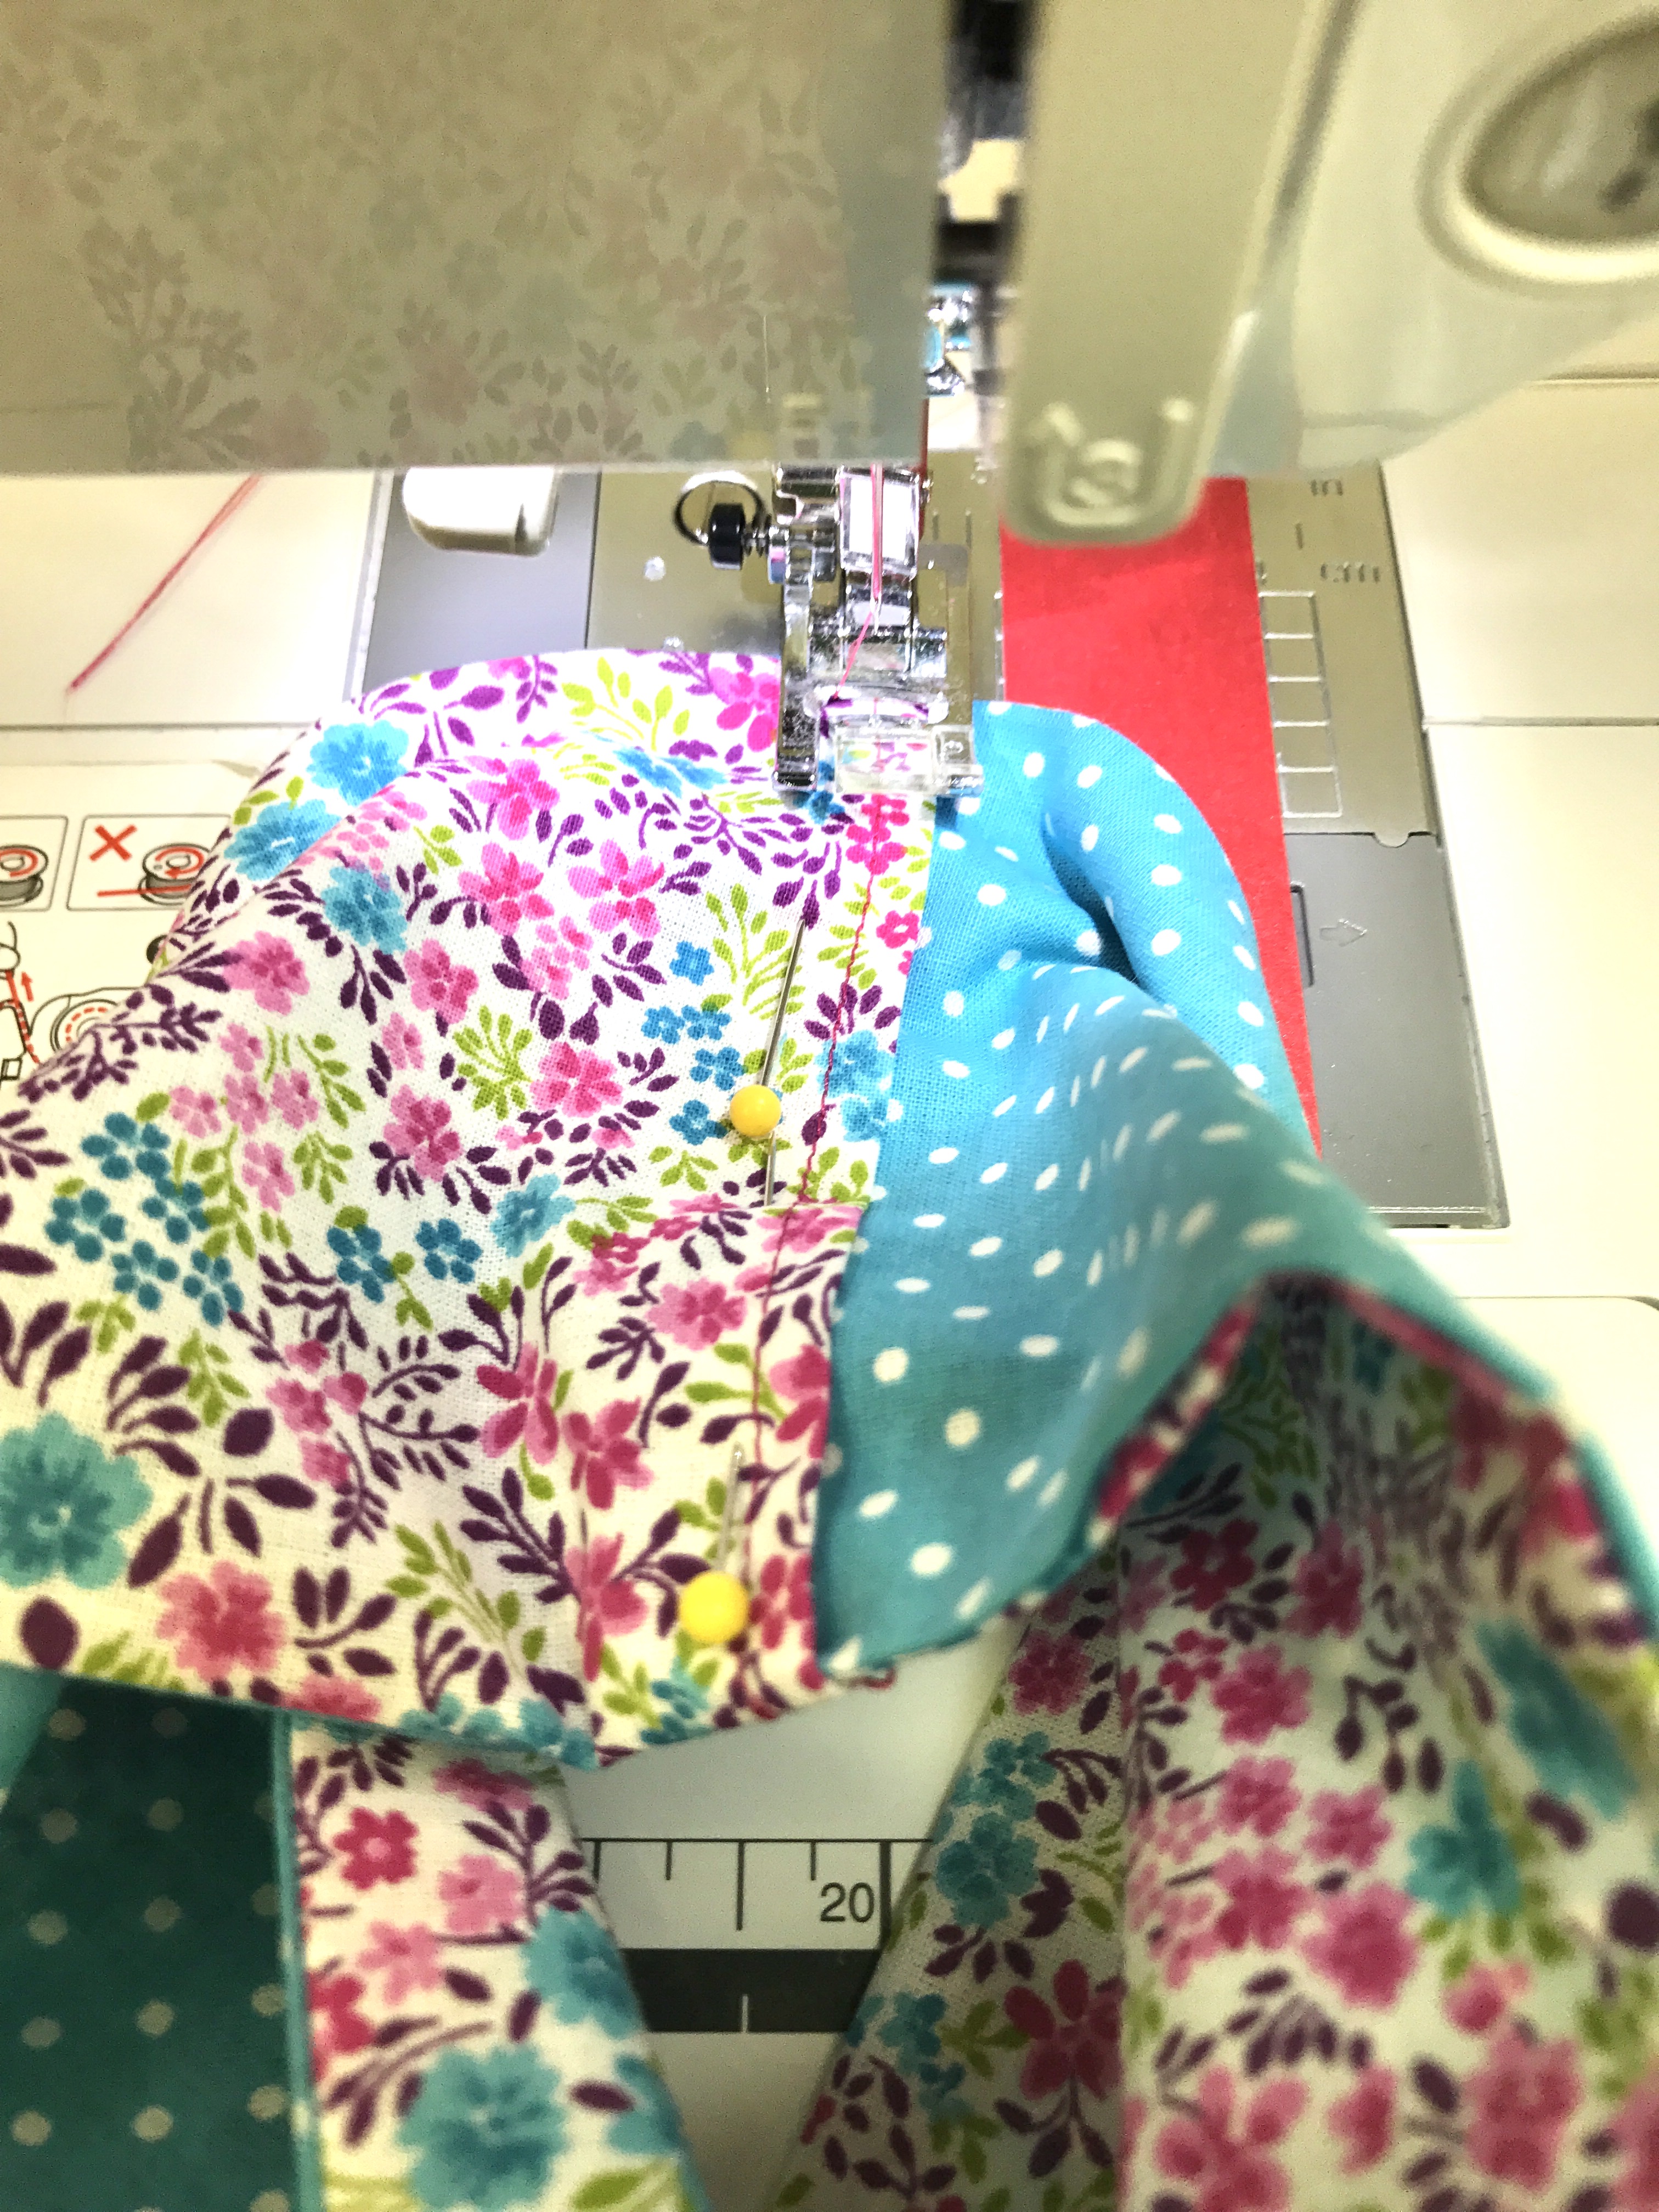
Stitch through all thicknesses.  It can be a little challenging setting it up at the machine.  Be careful to only stitch through the “closure” portion, don’t catch any of the scarf in the seam.  And watch out for those pesky pins!

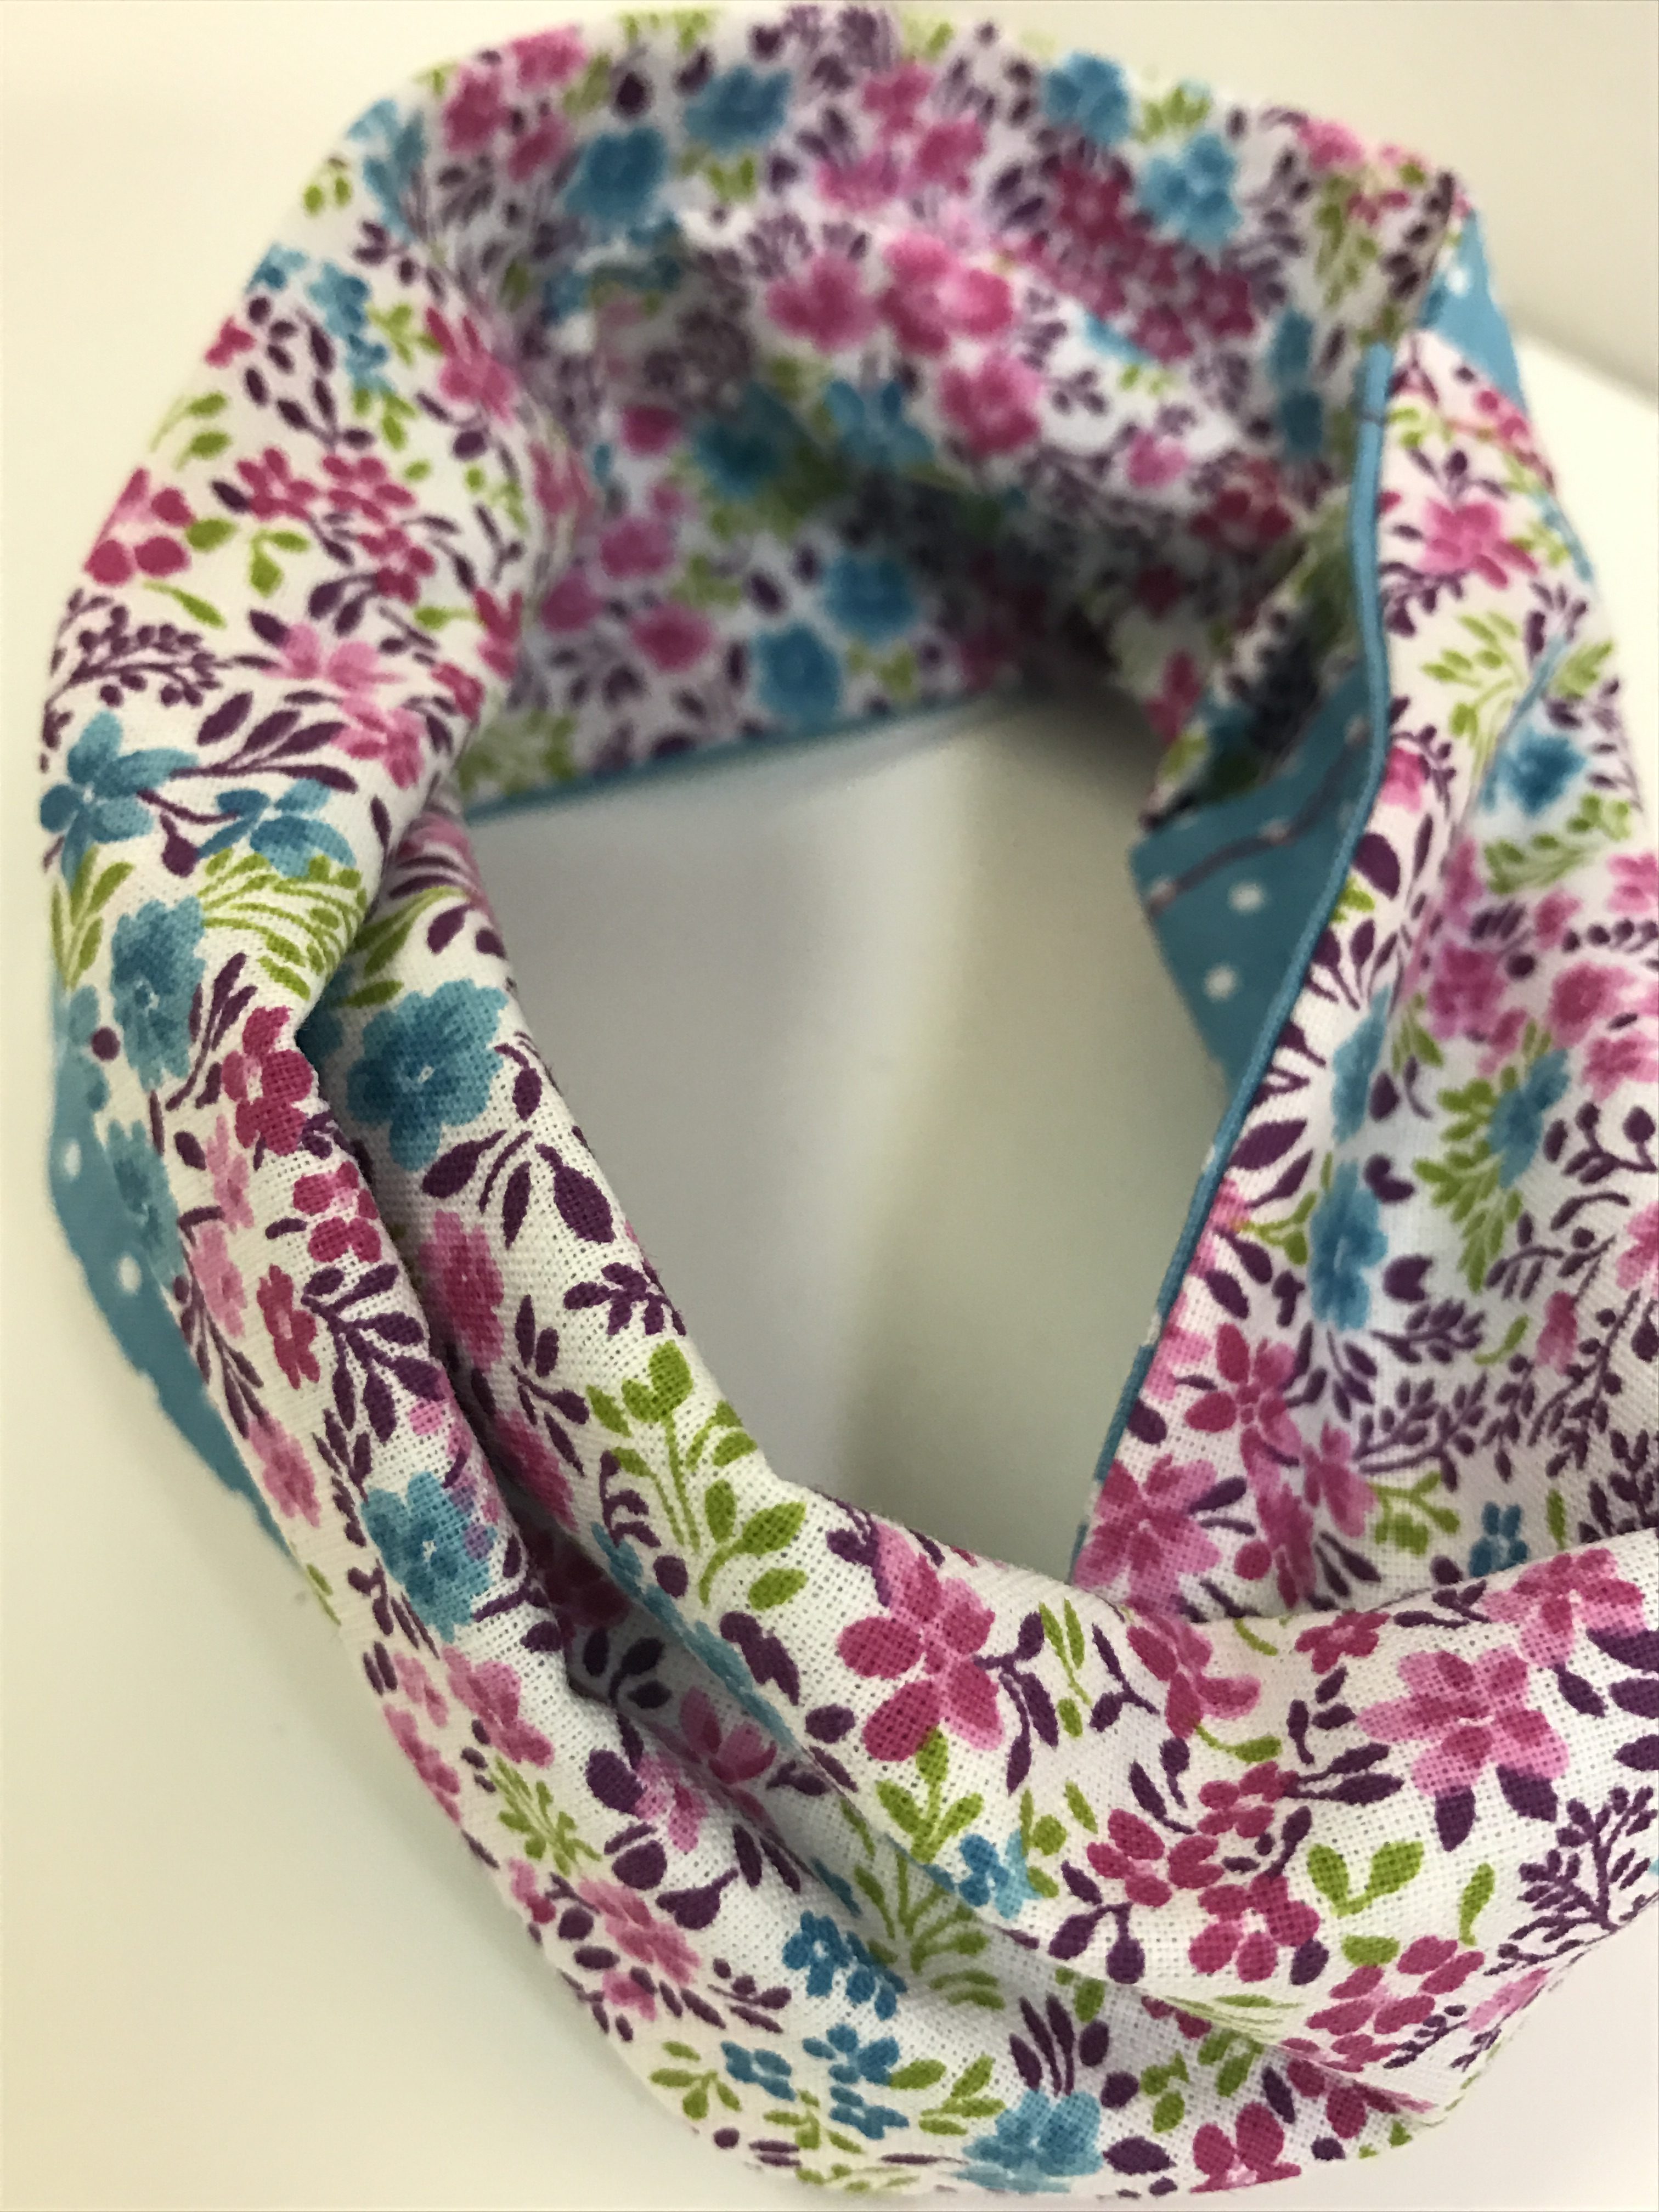
Remove the scarf from the machine.  Trim all your loose threads.  Fluff it a little.  Try it on your AG doll and pair it with your favorite doll skirt!

And guess what? If you cut your rectangles to 15″ x 60″ and follow these same steps, you can have a matching scarf to wear with your doll too!

If you have questions on any of the steps, feel free to ask in the comments below.  That way your question/answer might help someone else too!

Brightest of blessings to everyone in 2017!

Hugs!

Ms. Jen


About Jen

About Jen

I started Thimble Bee’s in 2009 to share my love and joy for sewing with the next generation. I’m so blessed to have met so many families in the Charlotte area and I’m glad you’re here. I hope you find Thimble Bee’s a comfortable place to learn, be encouraged, and grow in your skill every day.

Post navigation

Simple Side Satchel (for 18″ Dolls)
Hey, there!

Hey, there!

Jen Taylor, Owner

I started Thimble Bee’s in 2009 to share my love and joy for sewing with the next generation. I’m so blessed to have met so many families in the Charlotte area and I’m glad you’re here. I hope you find Thimble Bee’s a comfortable place to learn, be encouraged, and grow in your skill every day.

Now at the Studio

Join us for one of our fun and creative workshops, classes, or camps!

Register Today Learn More
Now at the Studio

SUBSCRIBE NOW

Stay up to date on our classes and workshops by subscribing to our newsletter!

Select list(s) to subscribe to


By submitting this form, you are consenting to receive marketing emails from: Thimble Bee's Sewing School. You can revoke your consent to receive emails at any time by using the SafeUnsubscribe® link, found at the bottom of every email. Emails are serviced by Constant Contact

Spreading JOY one stitch at a time!

Pages

  • Adult Classes
    • Garment Fundamentals
  • Adult Sewing Workshops
  • Beginner Garment Class
  • Blog
  • Classes
  • Fashion FUNDAMENTALS
  • Fashion Teens
  • Gift Cards
  • Girl Scouts
  • Hi, I’m Jen!
  • Home
  • Homeschool Sewing Classes
  • Kids Sewing Workshops
  • Learn To Sew I Adults
  • Learn To Sew I Kids
  • Learn To Sew II Adults
  • Learn to Sew III Adults
  • Learn to Sew Kids: Beyond the Basics
  • Learn To Sew Series
  • Policies + Procedures
  • Sewing Summer Camp
  • Sewing Workshops
  • Teacher Workday & School Break Camp
  • The Thimble Bee’s Sewciety
  • Thimble Bee’s Learn to Quilt Series: Create Your First Quilt!
  • Virtual Classes
  • About
  • Email Us
  • Blog
  • Gift Cards
Thimble Bee's Sewing School © 2025 | All Rights Reserved | 3512 Providence Rd S, Waxhaw, NC 28173